Thinning the trees on our property to mitigate fire risk
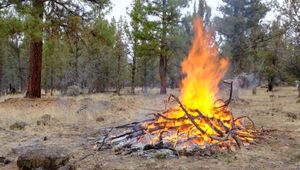
In this post, we work on thinning our land before winter sets in. I acquire a chainsaw and use it to remove junipers and take down a large beetle-killed second growth pine. I limb up the trees’ trunks and burn some slash piles. Finally, we scatter native seeds collected around central and eastern Oregon.
The survey of trees on the property I developed in the last post revealed the locations, heights, and species of trees. The majority of trees are small 20-40ft tall junipers, a class of tree that are becoming a nuisance in central and eastern Oregon. Our management strategy for the property is to reduce the density of junipers and maintain the ponderosa pines.
Implementing this strategy will take time. Since we recently acquired the property and haven’t decided on where we’re building the house or placing utilities, we’d like to start conservatively. In this first pass I’ll reduce the density of junipers by around 10-20%. Next year we’ll reevaluate and decide if we want to do another pass.
Determining which junipers to remove
Ponderosa pines are fire-adapted while junipers are not. If a fire were to move through the property, it’s likely the young and scrubby junipers would all burn. The pines have bark that’s adapted to fire and can flake away as it’s burned, keeping the fire out of the trees’ canopy. Junipers that are close to pines act as bridges that allow fire directly burn up into the pines’ canopies. Therefore the first priority is to remove any junipers near these mature pines.
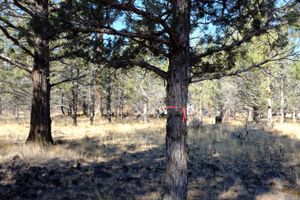
I started by marking all young junipers within an approximately 12ft radius of any large ponderosa pine or juniper. This took a couple hours; though our property is somewhat sparsely vegetated, 275 trees over 5 acres is substantial.
Choosing a chainsaw
As with every step of this project, I’ll need to acquire new tools. I didn’t know anything about chainsaws until a few months ago when I began researching.
More on chainsaws...
Here’s what I learned:
- Each chainsaw brand will have a product line meant for professionals that are better built, and a line for homeowners that aren’t as well built. I decided to go for the professional line since I wanted something that I could buy once, is well built, and has a good warranty. The price increase between homeowner and professional models isn’t too substantial.
- In pro models, engines range from 40cc-120cc or more. The engine size translates to the saw’s power and how long a bar it can pull. A smaller 40-50cc engine will pull a <20” bar, 60-70cc engine will pull 20-36” bar, and 80cc will pull even longer bars. The bar and engine size to go with depends on the size of trees being cut. I went with a mid-sized 60cc model with a 28” bar.
- Brand does not matter. The primary two brands to choose from are Stihl from Austria, and Husqvarna from Sweden (Echo is another good option, though used less by professionals). Both brands have essentially equivalent saw models, it’s personal preference and which good-quality dealer is closest that makes the difference. I went with Husqvarna because my ancestry spoke to me.
I decided on the Husqvarna 562 XP Mark II chainsaw with a 28” bar. Other accessories I acquired were 7/32” files to sharpen the chain, a file for the rakers, and biodegradable bar oil.
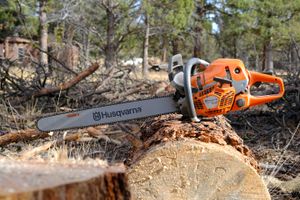
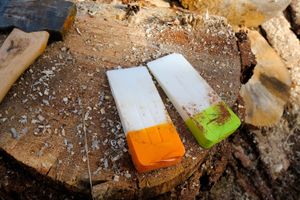
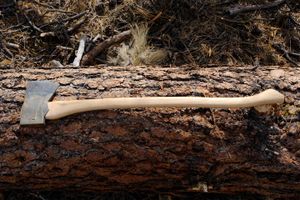
For personal protective equipment, I got Clogger Zero chaps and a helmet. Finally, I also picked up some K&H wedges and a Council Tool 3.5lb axe.
A summary of the costs associated with this step of the build can be found at the end of this post.
Felling trees
I’d never felled a tree before. I learned by watching others do it. I found the channel Wilson Forest Lands to have the best explanation of the key concepts. His video on how to cut a Humboldt Undercut—the primary way trees are felled in this area of the country—was most helpful.
It took a few trees to get the hang of it. For the first few days I concentrated on taking out junipers. They’re not tall but they have very dense canopies, knotty wood, and stringy fibrous bark that plugs up a chainsaw. They smell great, though.
One benefit of juniper is the wood is notably rot-resistant: testing by OSU has shown buried juniper posts to last on average 23 years. In the same test ponderosa pine lasted 6 years, douglas fir for 7 years, redwood for 21 years and western red cedar for 22-24 years. Juniper’s performance is compelling given how prevalent and weedy it has become, and how expensive its competitors are. In the future I may use these logs for fence posts or split-rail fencing.
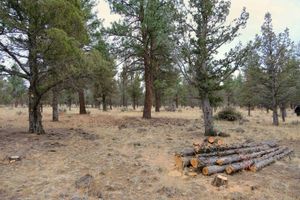
The largest tree that needed to be removed was an approximately 70ft dead pine measuring 90” around or 28” in diameter.
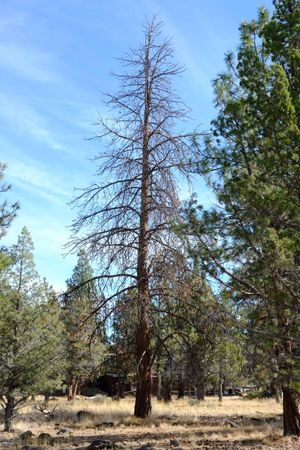
It appears to have been killed by Western Pine Beetles two or three years ago. The trunk is covered in holes from woodpeckers feeding on the larva. Beetles attack when trees are stressed; in this case the stress may have come from drought.
It was around 90 years old when it died, which would suggest that the old growth pines on this property were logged in the 1930’s. This tree and the others are all second growth.
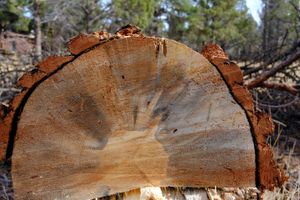
The wood is stained blue from a fungus that the beetles introduce to trees they colonize. Local mills sometimes use blue-stained beetle kill logs to make lumber.
Limbing up trees
As trees grow they shade out their own lower branches; ponderosa pines are usually covered in dead branches for the first 12’ off the ground. These dry branches serve as a ladder to pull fire up into the canopy of the tree. I rented a pole saw and spent a day walking around trimming up the lower branches of trees.
This was satisfying work.
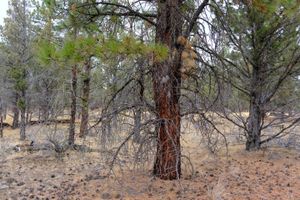
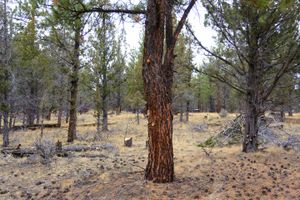
We pulled the branches into slash piles around the property. We’ve burned a few piles so far.
Forest management is labor-intensive work
To limb up all 5 acres of trees, it took about four hours. It took about the same amount of time pull out the slash into piles. Thinning out the junipers, yarding out the logs, and cleaning up the slash took four or five full days. I thinned out about half of the total property, around 2½ acres. I’d never done any forestry work before, so I had no frame of reference as to how long these sorts of tasks might take. It was longer than I would have expected.
It’s becoming more common to hear discussion about the precipitous state of western U.S. forests; they are full of beetle-killed trees, thick understories of blowdown, and have grown denser with flammable species. I plan to learn more about the forest management practices of the U.S. Forest Service and BLM in future posts. As I worked on thinning this small property, the scale of the problem over millions of acres of forest became more acute. To address it through the mechanical thinning methods used here would be a momentous undertaking.
Spreading seeds
Over September and October I collected seeds from a variety of native plants to scatter around the property. These seeds came from the Strawberry Mountains, Ochoco Mountains, and around Central Oregon.
I’d particularly like to get arrowleaf balsamroot (balsamorhiza sagittata) going under the pines. I collected seeds from three different populations of balsamroot; I’m curious which will come up and do best on this site.
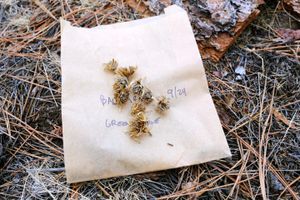
I collected quite a few varieties of buckwheat (eriogonum) as well, though I don’t know the exact types as the flowers and plants were dried out by late summer. We’ll what comes up next spring.
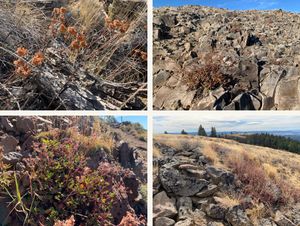
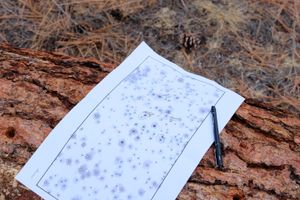
As I removed trees I marked the survey and noted where I scattered different types of seeds.
Costs
Here are the costs associated with this step of the project. Almost all of what we spent was invested in tools we’ll continue to use in the future.
| Item | Total cost |
|---|---|
| Chainsaw, bar, chain, and files | 952.95 |
| Chainsaw PPE | 336.60 |
| Axe, shovels, rake, and other hand tools | 138.66 |
| Miscellaneous | 154.41 |
| Oil and fuel | 94.96 |
| Pole saw rental | 57.50 |
| Total | 1,735.08 |
Next
Now that the property has been thinned and is more fire safe, we can move on to planning other aspects of the development. First up will be the driveway. We’ve been driving in on an existing rocky and overgrown track with our truck. We’ll need to have gravel brought in to construct a real road to allow access for low-clearance vehicles or large trucks.
That will likely not be for a while. We’re going to focus on other endeavors in other places and save up for the infrastructure development for the next year or so. During that time we’ll be thinking more about the design of the structure we want to build.
⁂