Designing a shed
It is time to build a shed. We need a shed for tool storage, for keeping things out of the elements and safe while we’re away. It will also be the first place we make on our property.
I was building sheds, and whenever you can build a shed, you’ve got it made. […] they’re small houses and they can be used for storage, and they can be used for little places to be. As soon as you capture some space and design how the shape of it is, moods start occurring, light starts playing on the wall, and just to see it happening is unbelievable! I like to build things, and I like to collect things. And when you collect things, you need a place to put them.
There are a few concrete constraints for the shed.
For one, it should not require a building permit. In our county, that means no utilities (not that our property has any), under 200 square feet, under 10 feet tall, and no windows. Though it won’t require a building permit, it will be built to the building code as much as possible.
Secondly, I’d like to it to evenly utilize building materials. That means it should be designed based around the available sizes of lumber, sheet goods, and finish materials to minimize excess waste.
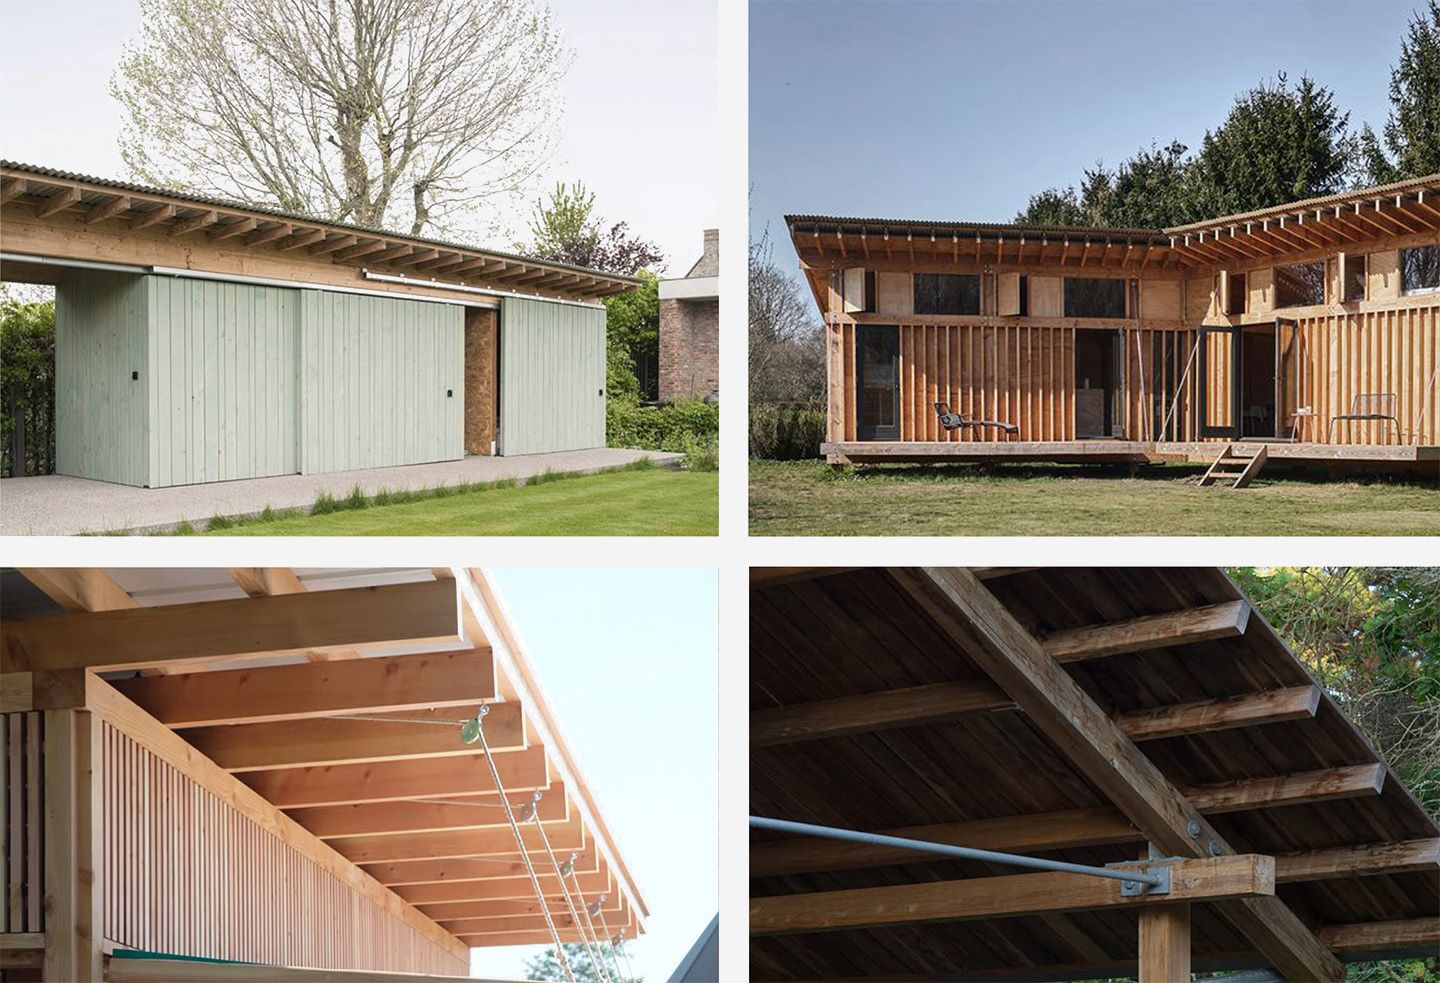
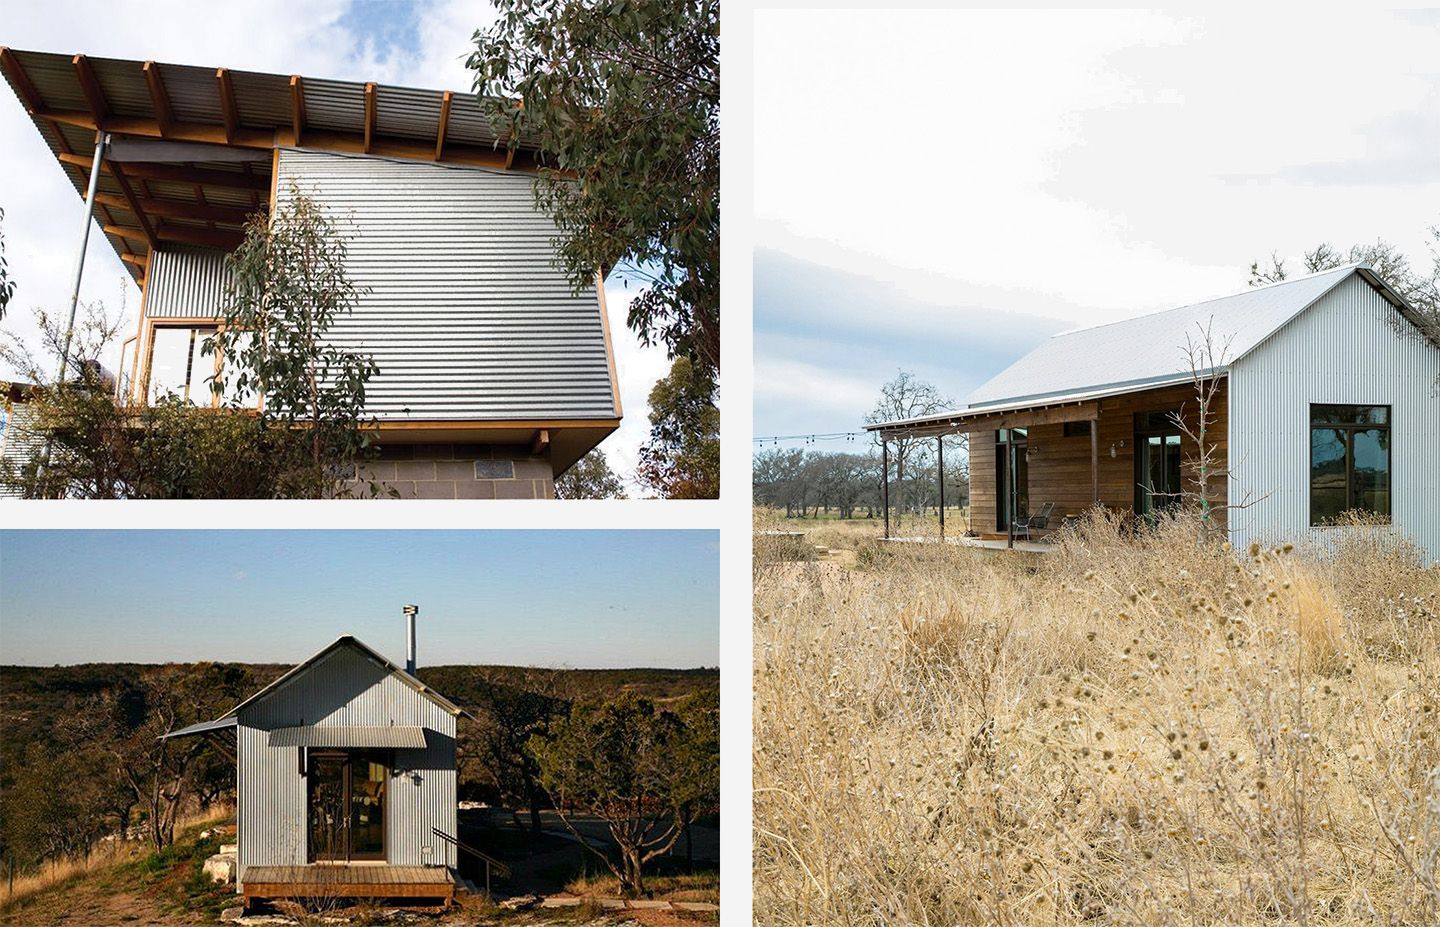
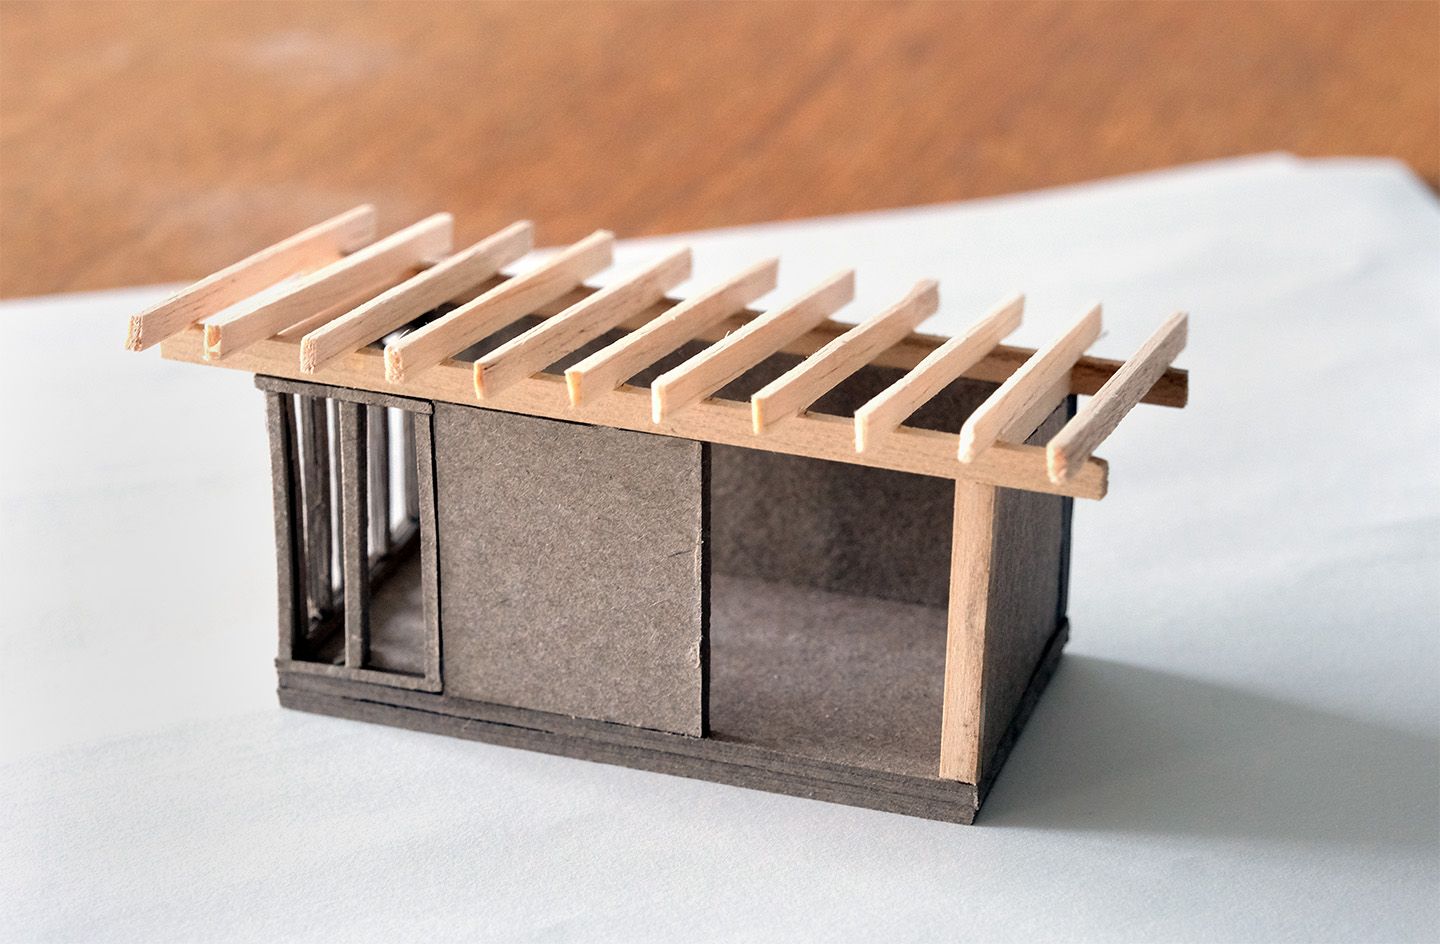
The design process took a couple of weeks. The design is based on what I think a shed should be. Most importantly, the shed should look like a shed. To me that means a simple rectangle with a shed-style (single slope) roof. I feel that every building should have an ample roof overhang on all sides. As much as possible, the structure of the roof should be left exposed. The door should be a sliding barn door. There should be a way to let in lots of light to work. The siding and roof materials should be non-combustible.
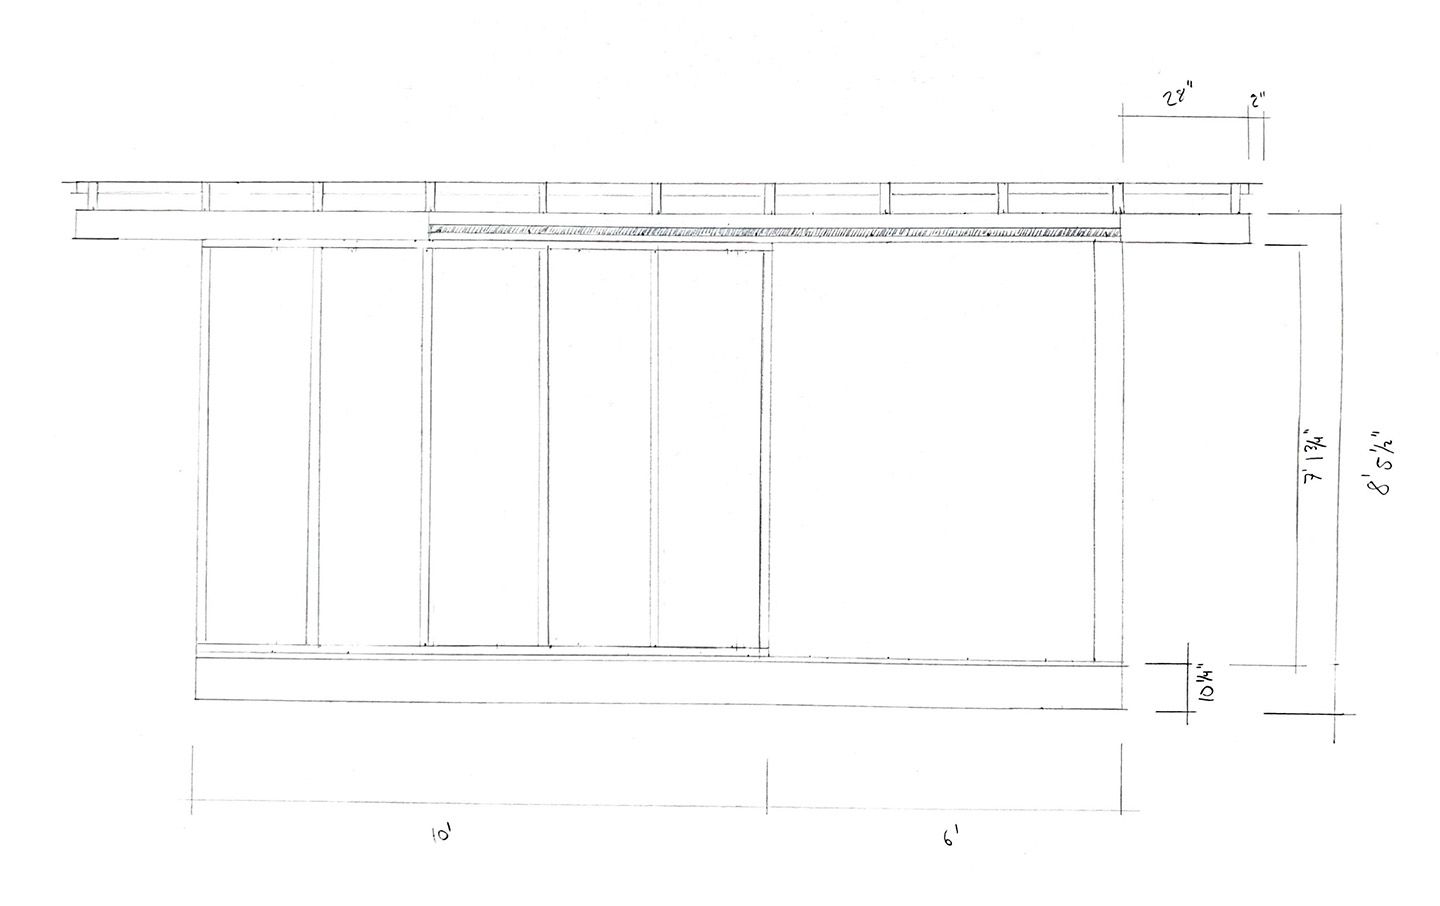
To size the building, I worked off multiples of common lumber sizes. OSB—the material I’ll use for the floor—comes in 4’×8’ sheets so I sized the platform to be 8’×16’: exactly four sheets of OSB.
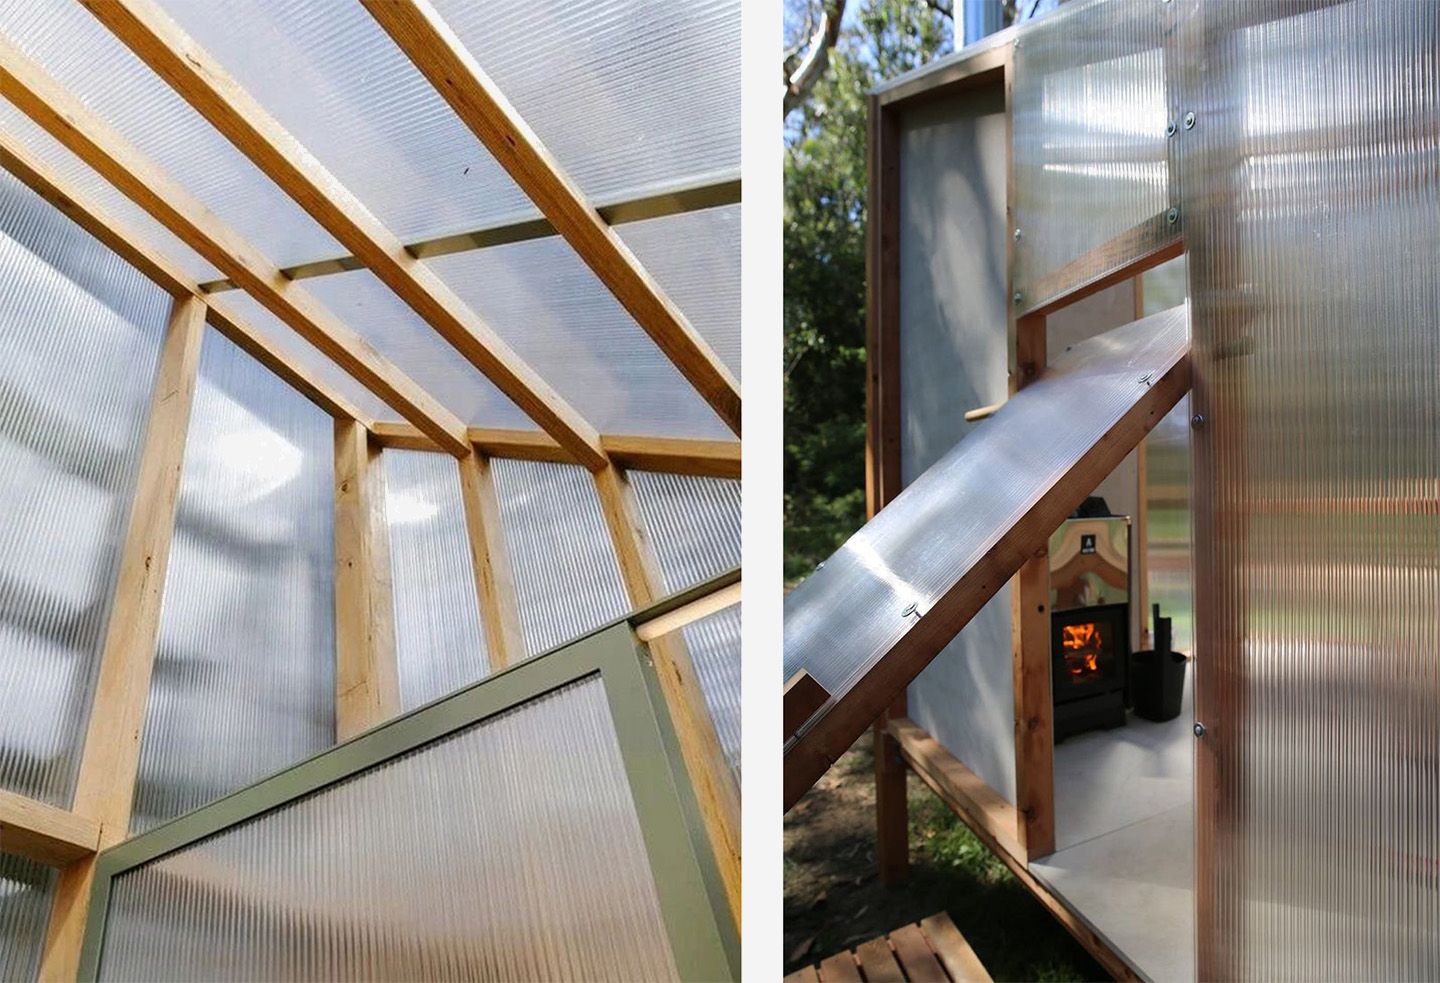
A tricky part of the design was letting in light. A traditional window is not allowed by our municipality. A skylight could work, or a semi-transparent roof panel. I found a multi-wall polycarbonate sheet product that was particularly promising. It’s used as a siding for greenhouses or for roofing outdoor structures. My initial thought was to create a clerestory from this material above the sliding barn door. However since the structure had to be under 10’ high that didn’t leave enough room. I settled on sheeting one end and part of the front of the shed in these polycarbonate sheets. With the easily divisible sizing, it would require exactly three 4’×8’ sheets.
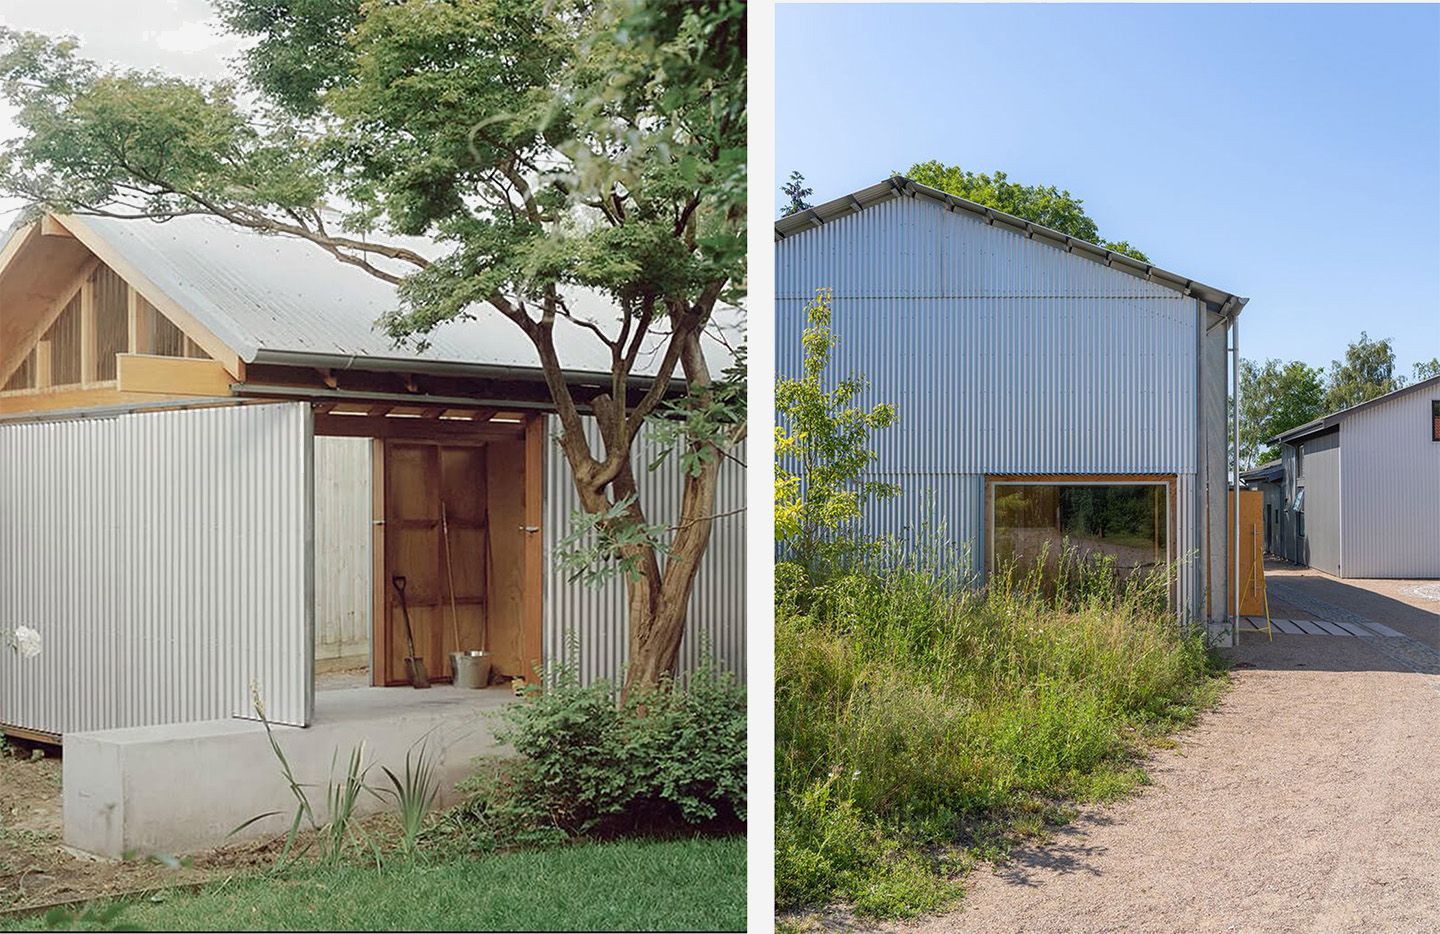
For the roof and siding I went with galvanized metal panels. They are non-combustible, simple, honest, and feel shed-appropriate.
The metal panels are available in 12’ long sheets. I played with the roof pitch and settled on a 2:12 (for every 12 inches horizontally, the roof rises by 2 inches). With an 8’ wide structure, this meant that the overhang would end up just under 2’ on front and back.
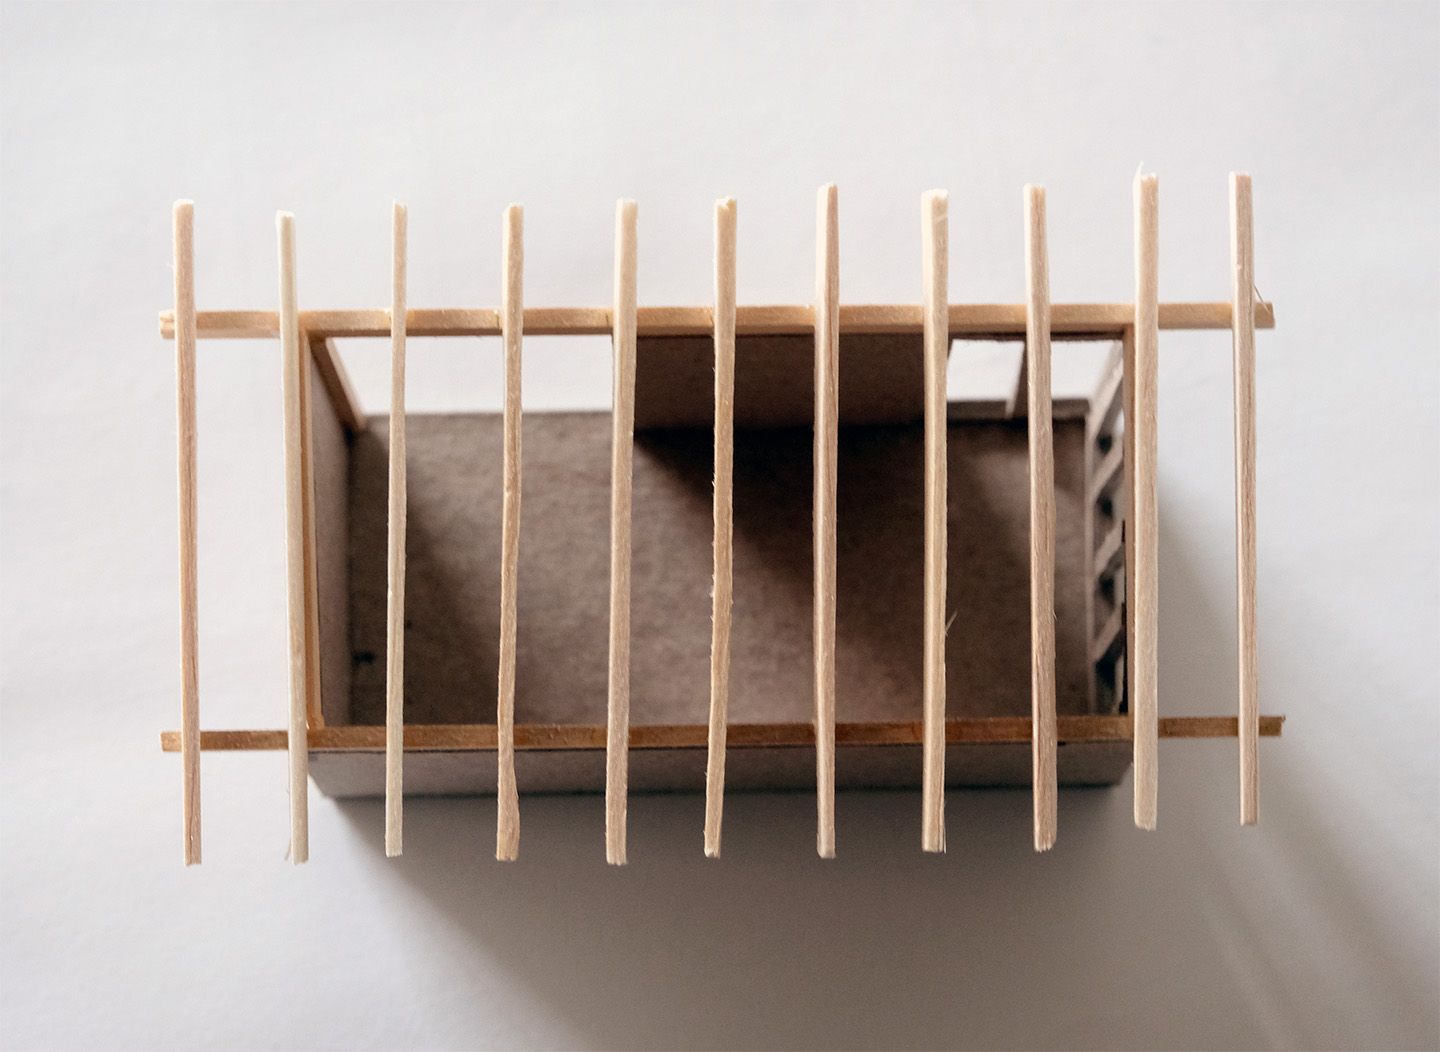
To keep this overhang somewhat consistent on the sides, I designed a roof structure with an exposed header beam that cantilevers out on each side to support the rafters. The side overhang was determined by the width of the roof panels. Each is 3’ wide, so the length of the structure would have to be a multiple of three. I went with 21’, creating about a 2½’ overhang on either side.
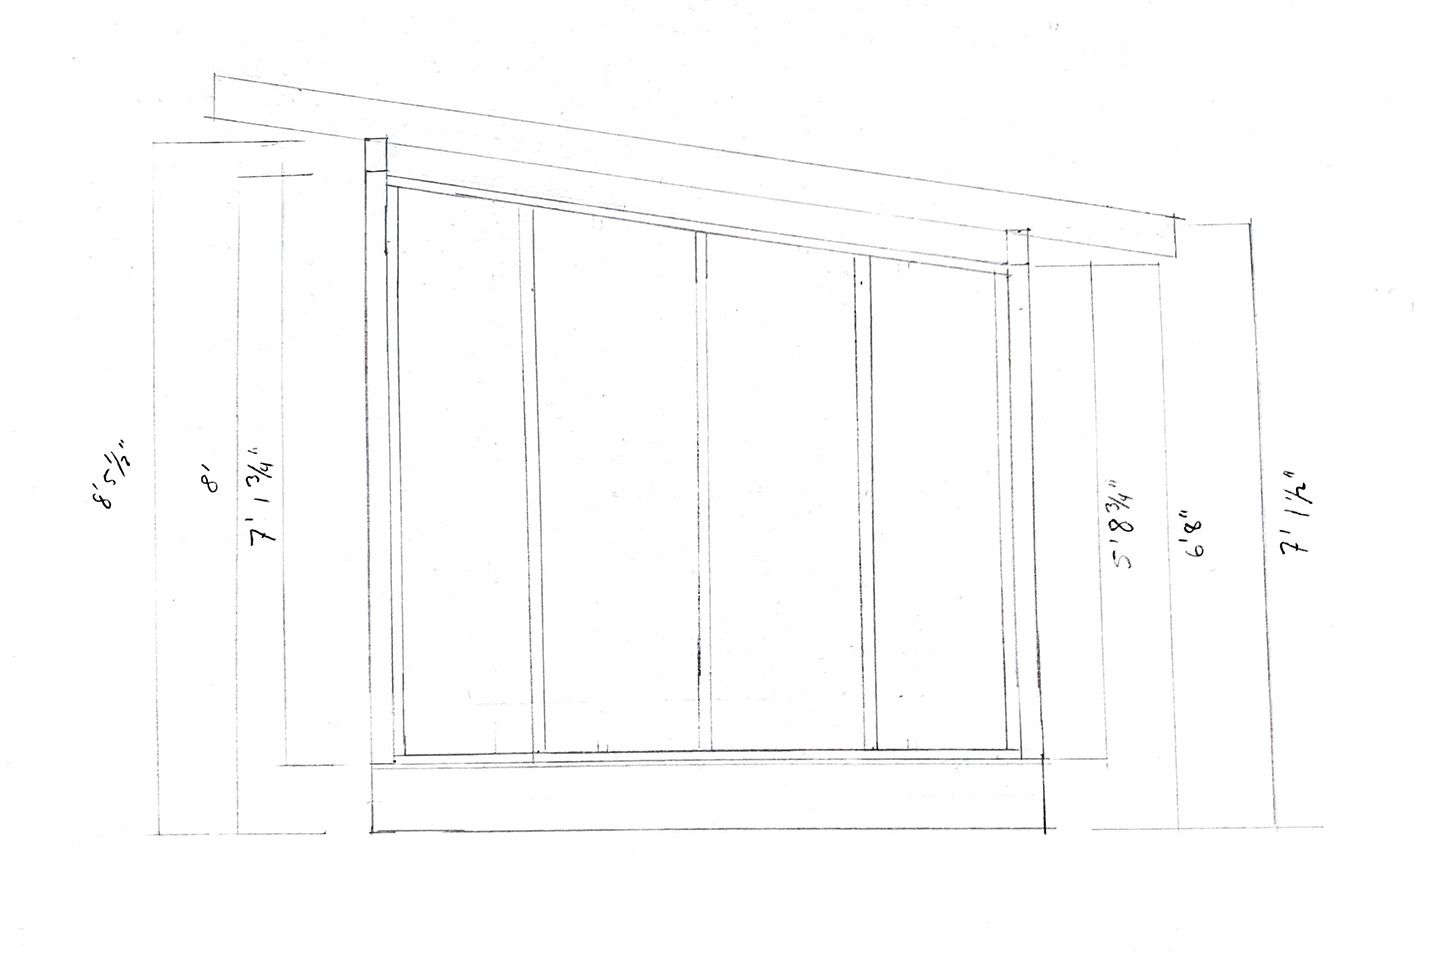
To support the roof, I first considered an assembly of OSB decking over the rafters, then a weather sealing wrap, then the metal panels. But since the shed wouldn’t have any insulation this seemed unnecessary. I like the look of purlins used in traditional timber framing and pole barns so I decided to use them. This would be cheaper than the OSB assembly, though not necessarily faster to build since I’d have to mortice each rafter to receive the purlins.
Picking the location for the shed was difficult. There are no structures on our property, so it could go anywhere. However placing anything at all meant starting to constrain future development. Eventually we settled on a location at the edge of a natural meadow towards the back of the property.

Time to build.
⁂