Building a shed
For the last few months, I’ve been working on building the shed I designed. The work has taken about ten full days. We’ve been away from the property and haven’t had too much time to dedicate to it. But it’s now complete. This post documents the process of building it.
The main goal for the shed was to have a place to store tools and materials out of the sun and rain. It will be the first covered space on the property.
A secondary goal was to complete my first full framing project. I’ve never built anything of this scale before and figured it would be good practice before embarking on more complicated framing endeavors. Everything I learned to prepare for this project came from watching YouTube videos.
The foundation and floor framing
The foundation was built with preformed concrete piers dug into the soil. Because this is a small building, it wasn’t worth investing in a more substantial foundation. This will allow us to move the shed in the future if necessary.
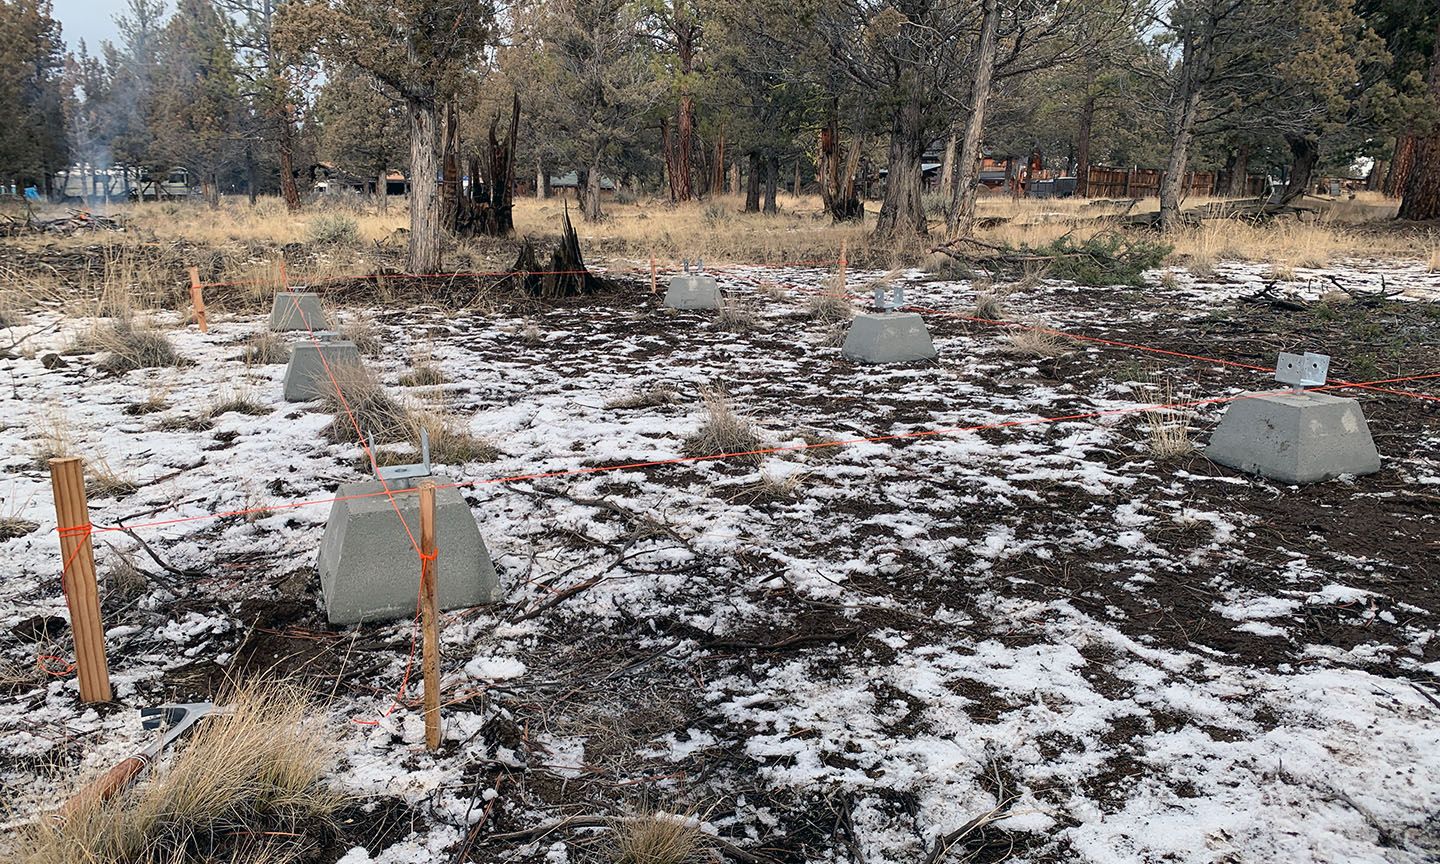
To level the piers I used stringlines strung between stakes. It was difficult to get these level. In future projects I will invest in a laser level, both to get a better result and to save a substantial amount of time going back and forth making adjustments and checking with bubble levels.
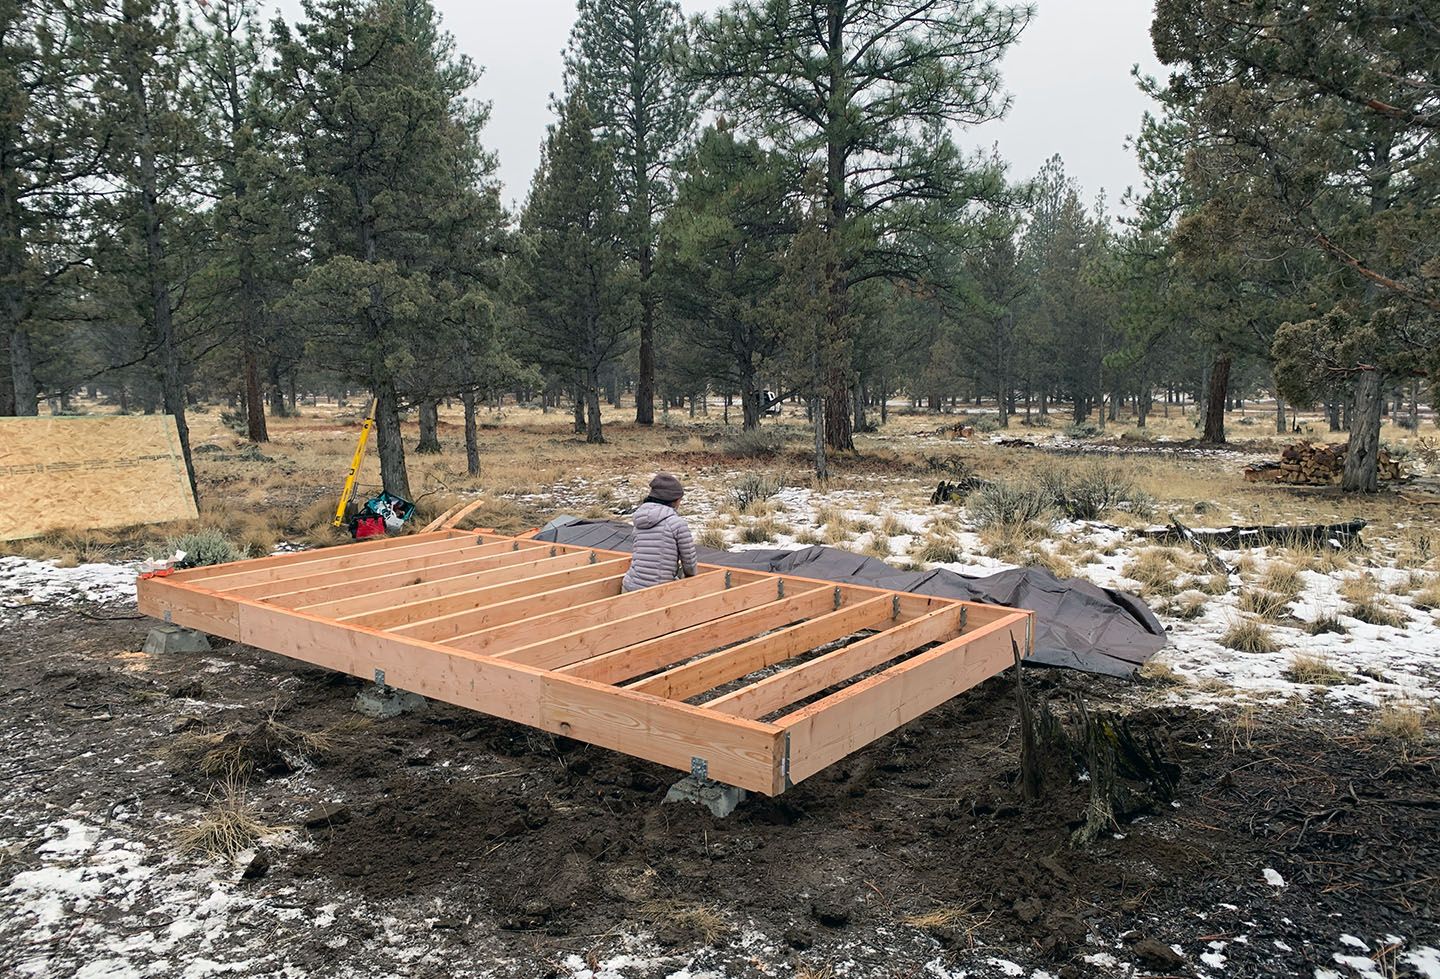
The floor was framed by doubling up 2x10s to create 16’ long beams that run between the piers. The floor joists are 2x6s.
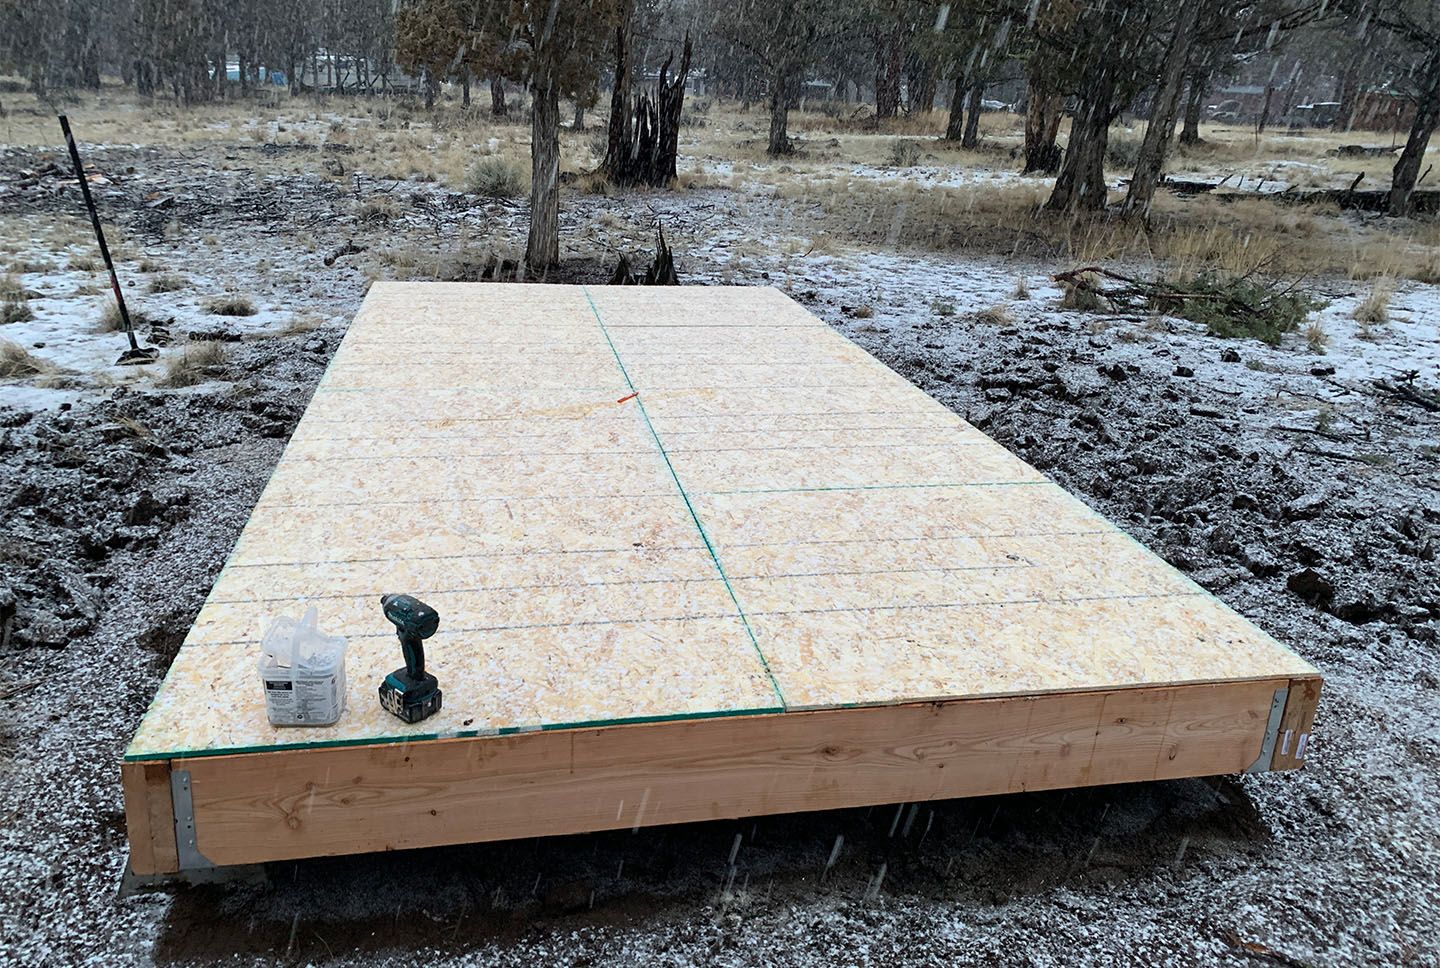
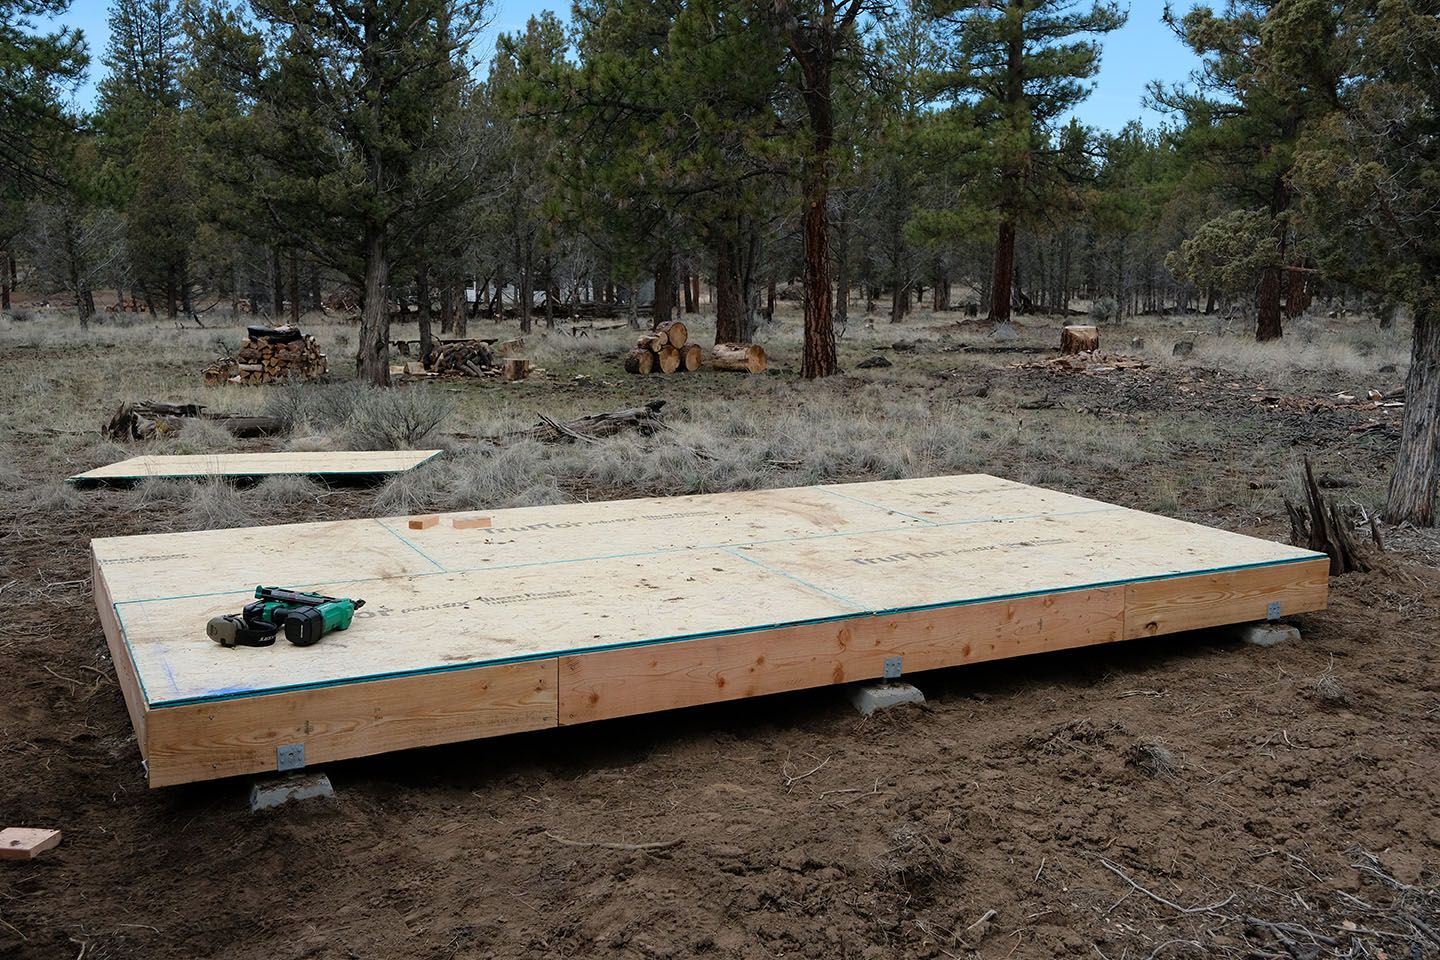
Several months later, I returned and finished the floor with 23/32” OSB.
Wall and roof framing
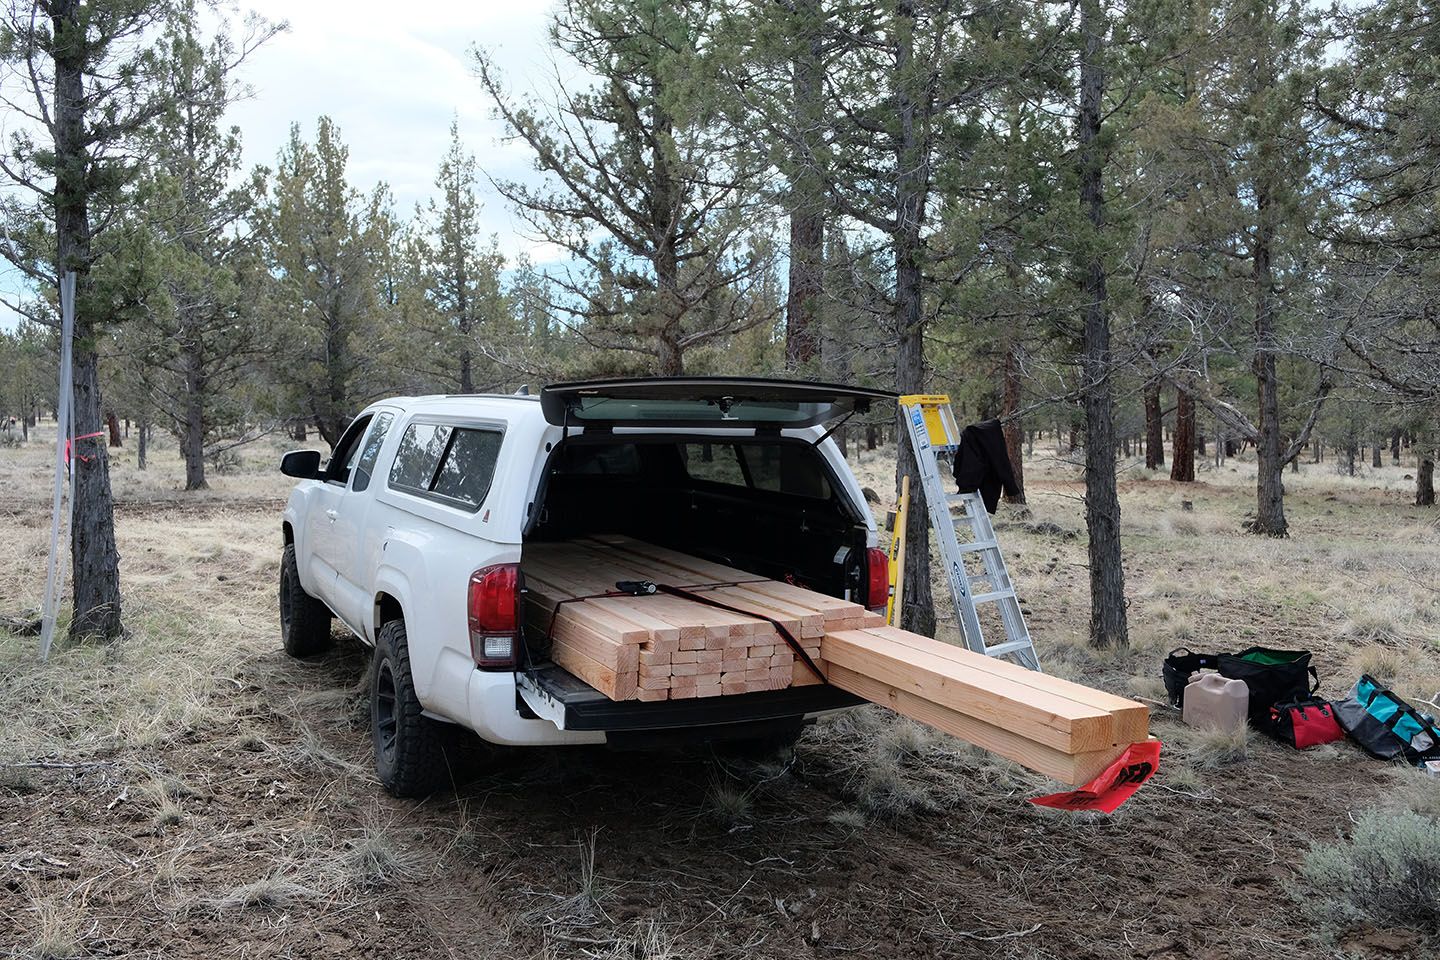
Getting material to the build site was slow going. Our property is very rocky, so I had to clear a rough track to get the truck in. It would be worth building a more permanent road to access the back part of the property if we intend to use it.
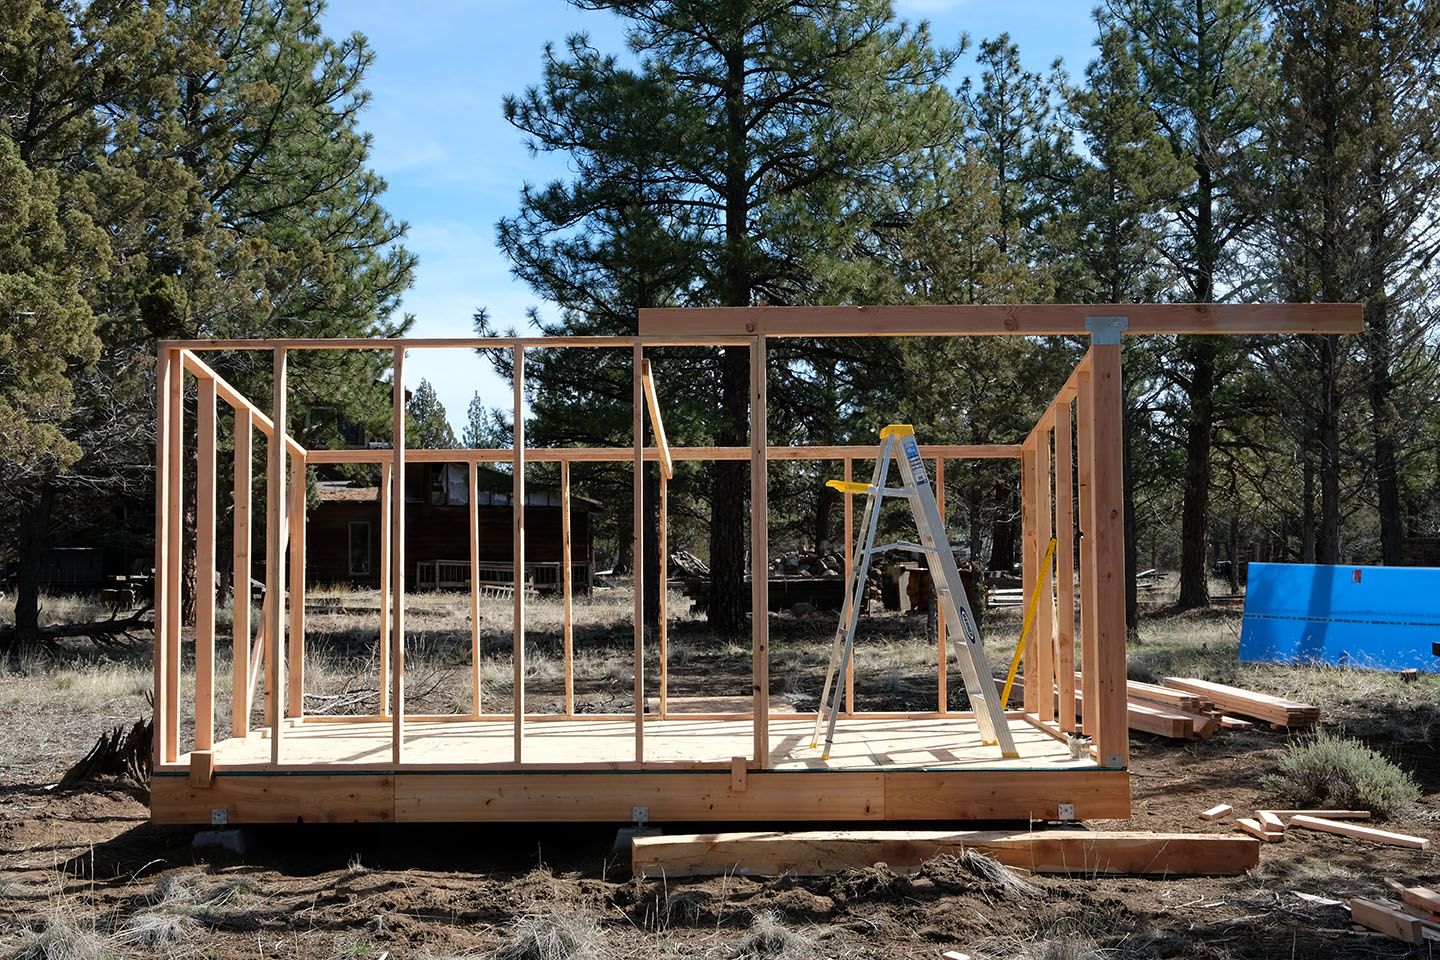
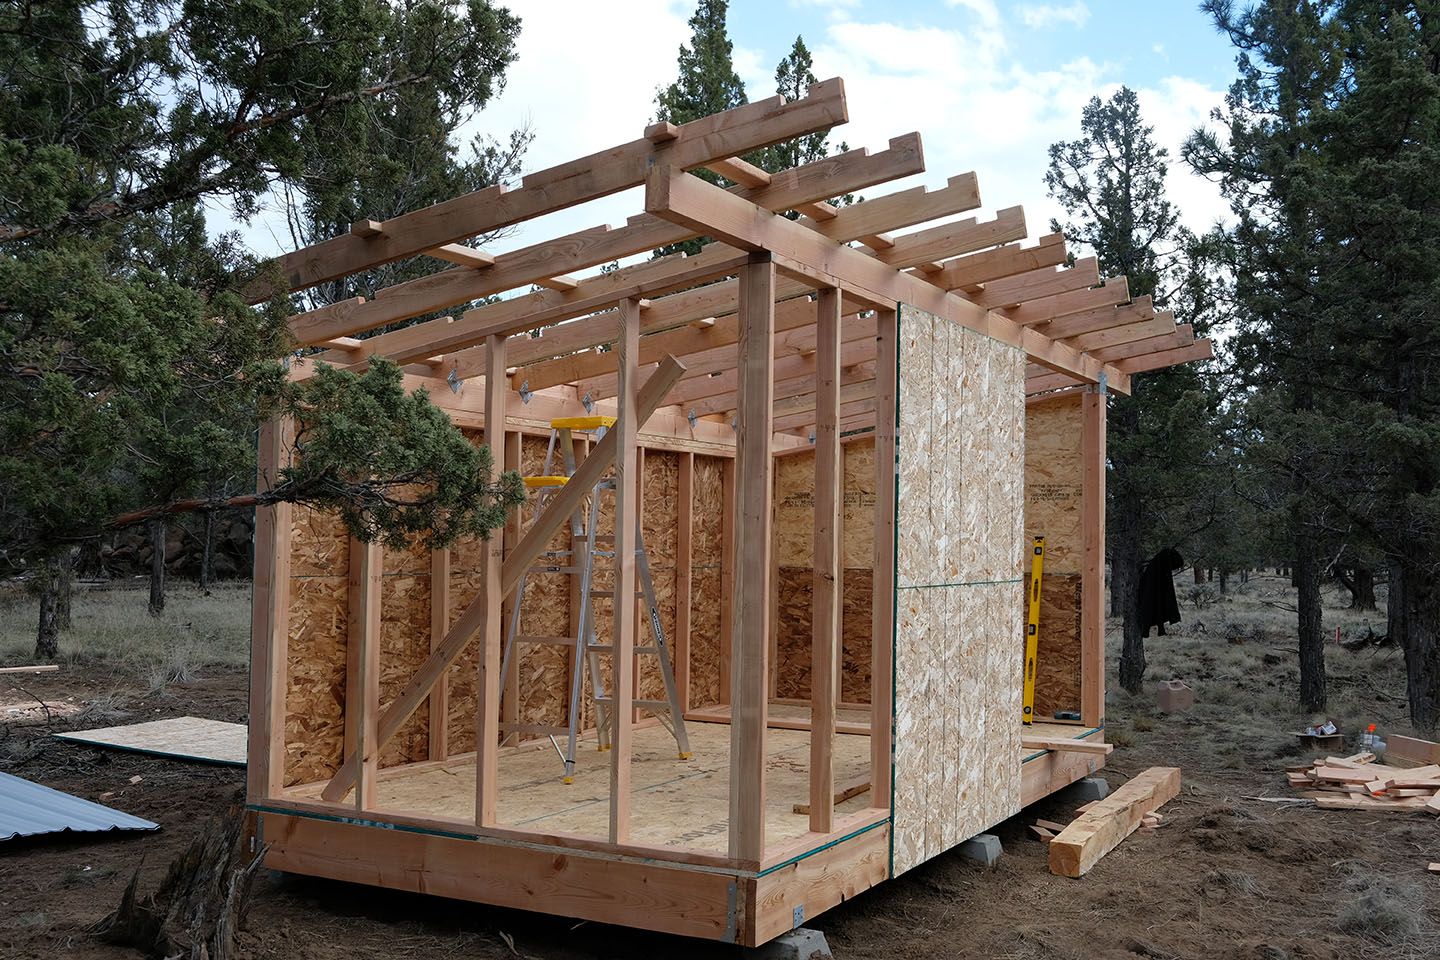
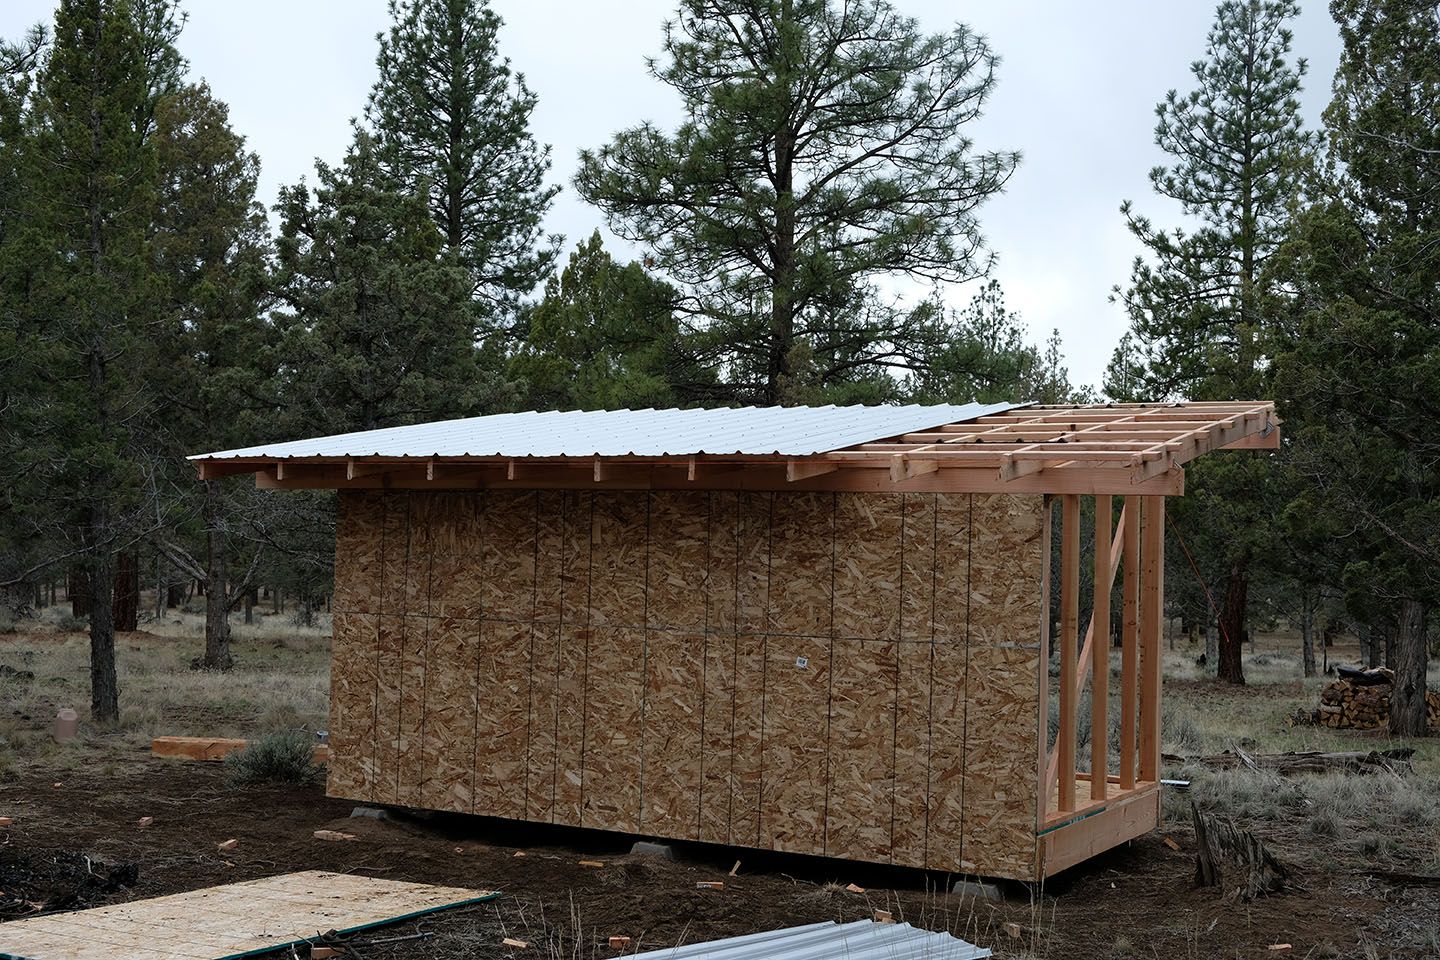
The framing itself went quickly.
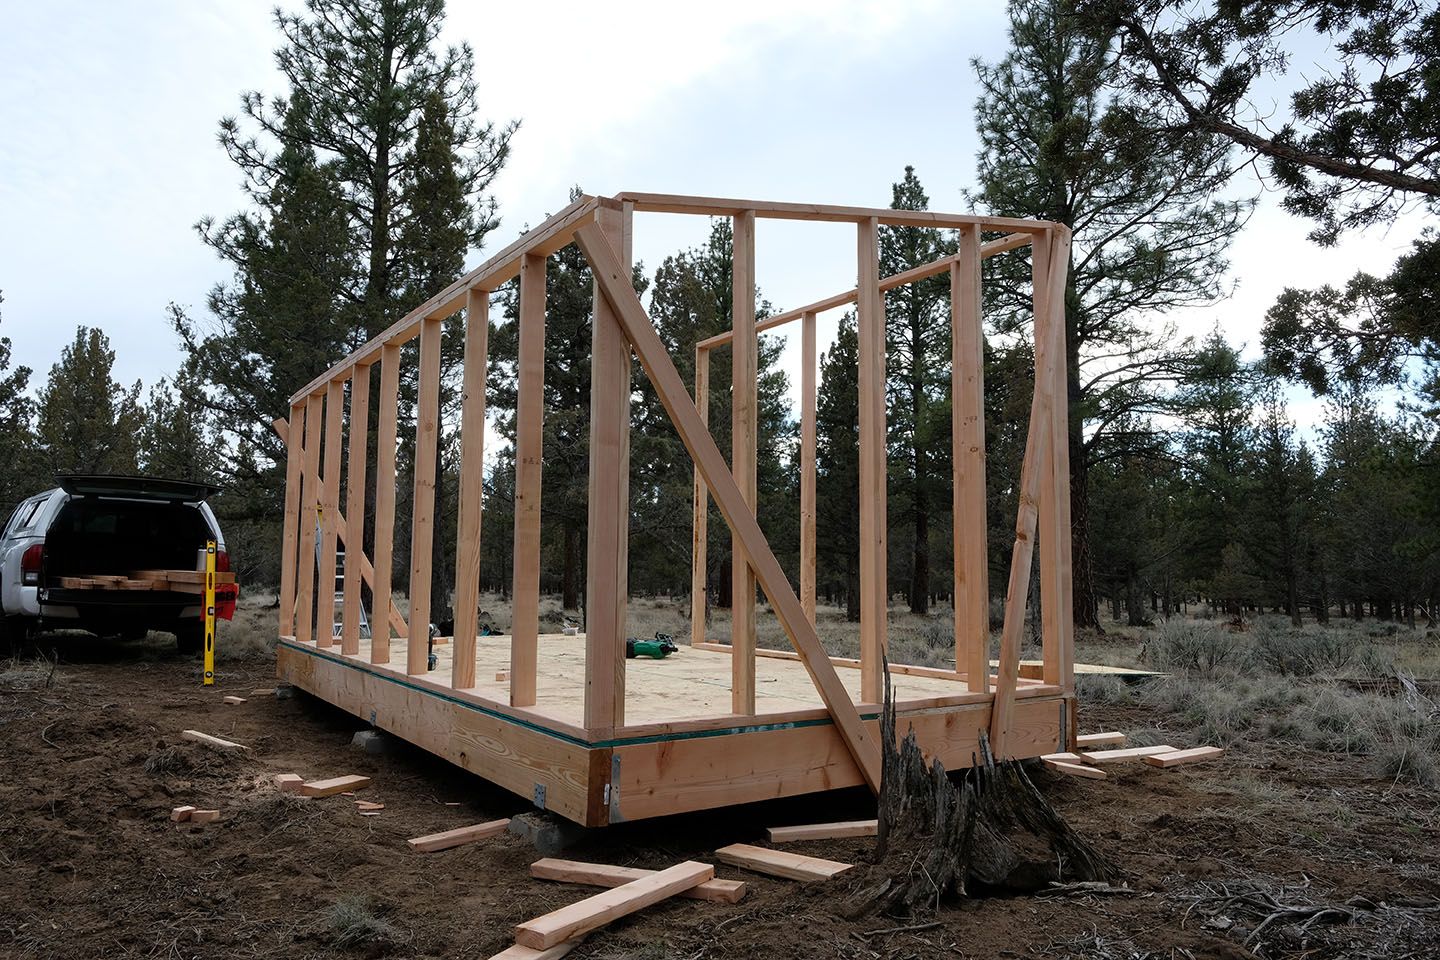
Framing wasn’t difficult. The main task is getting the layout correct, so that as you build each successive component fits into place without issue.
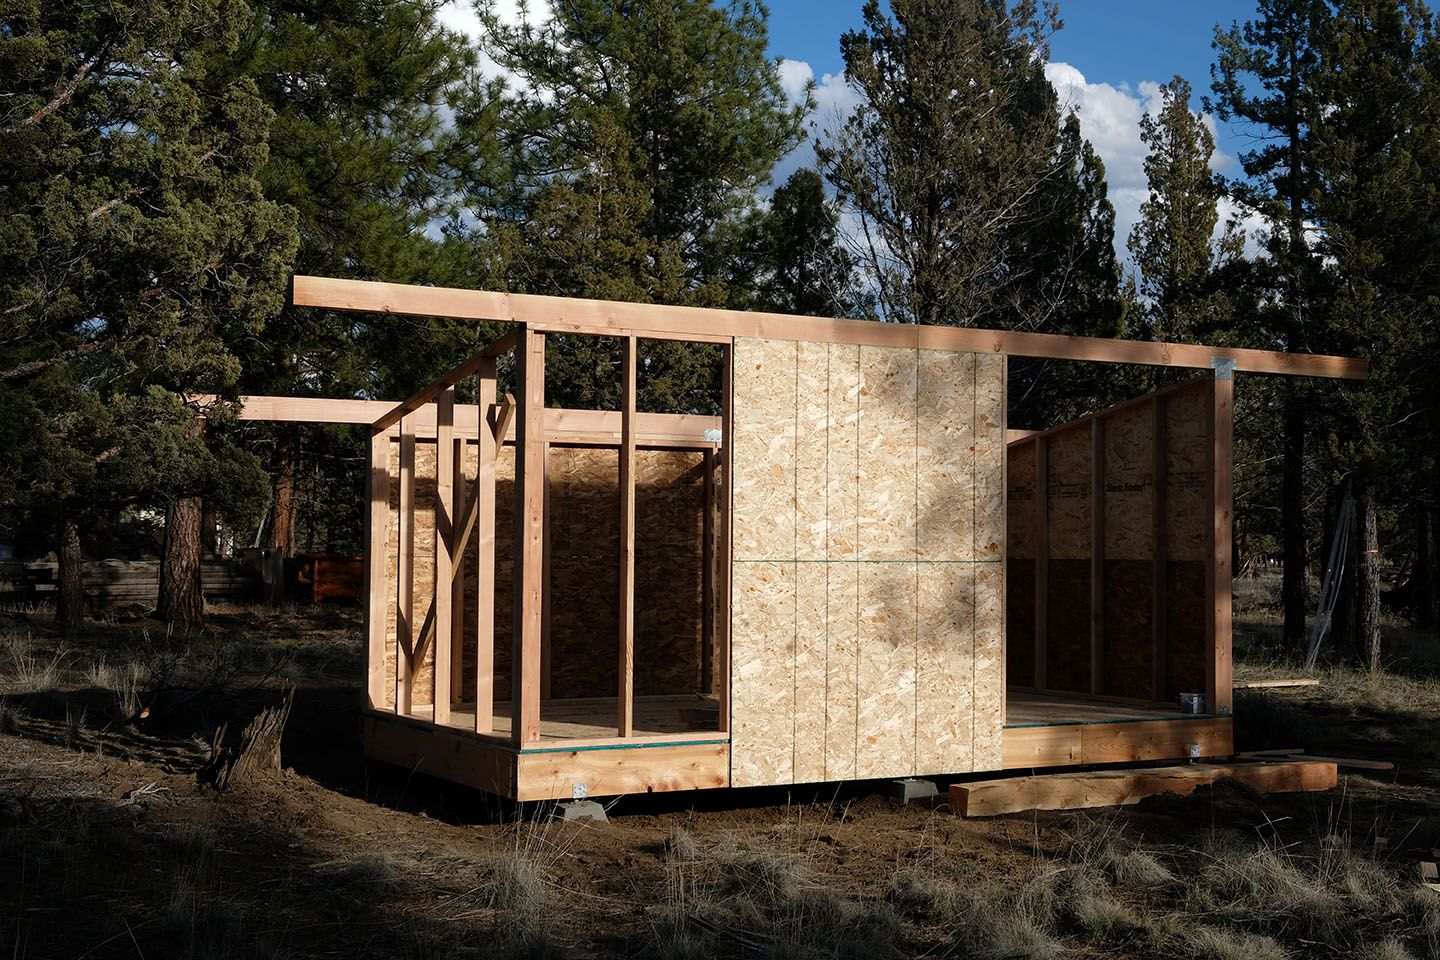
For the sheathing I used 7/16” OSB.
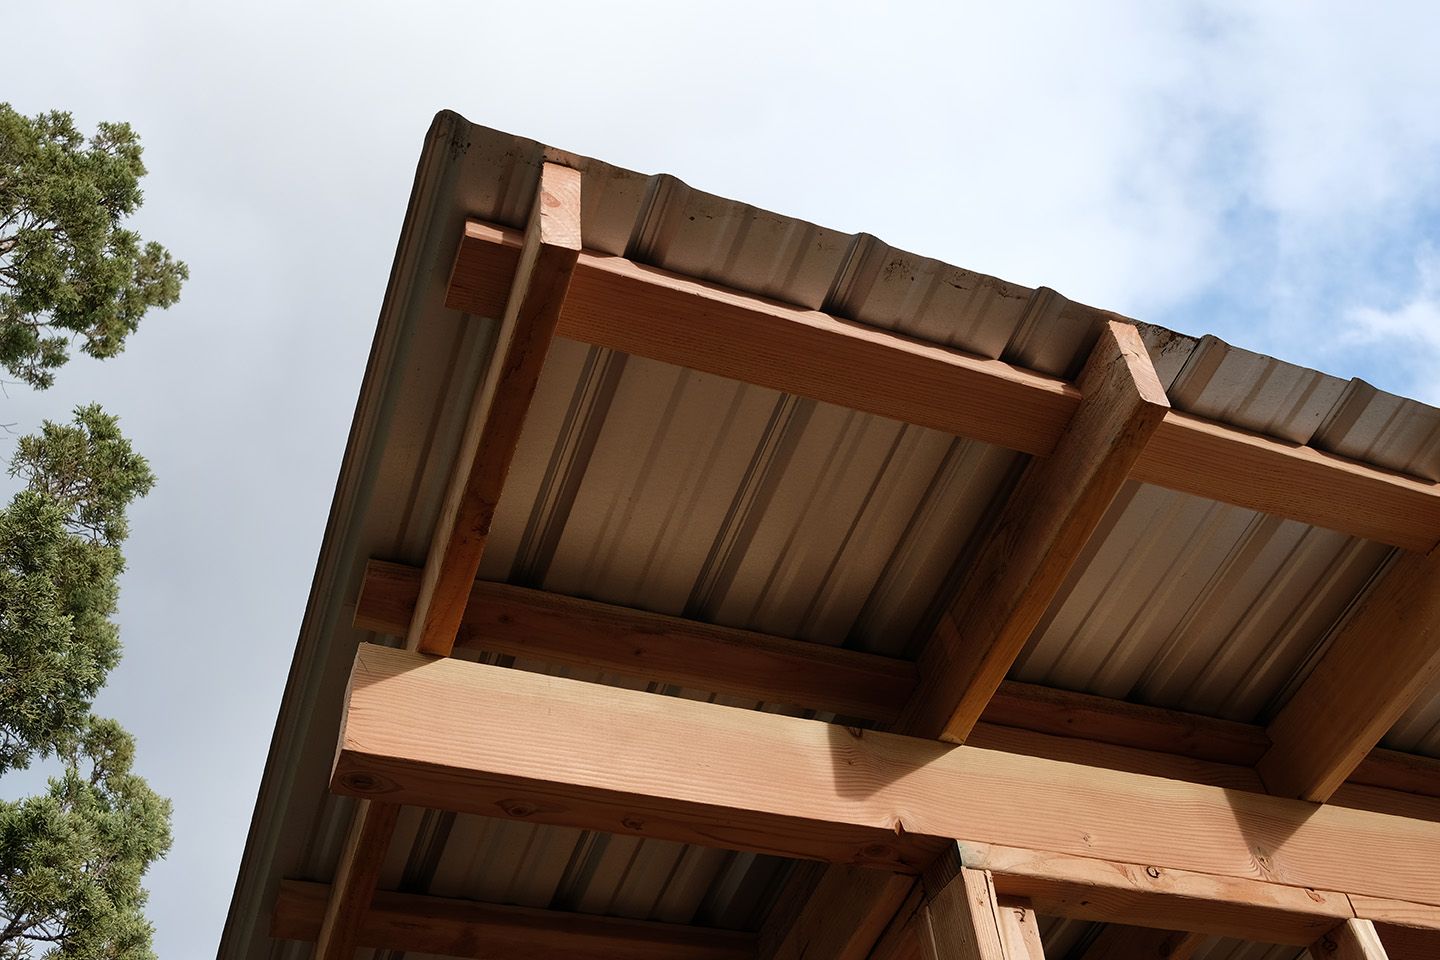
The rafters were cut one-by-one, two birdsmouth cuts each. To save time, I then ratchet-strapped them all together and gang-cut out the mortises for the purlins. I did this by kerfing: running a circular saw across the rafters 10-12 times then chiseling out the material. Fun for the first cut, but arduous after doing seven of them.
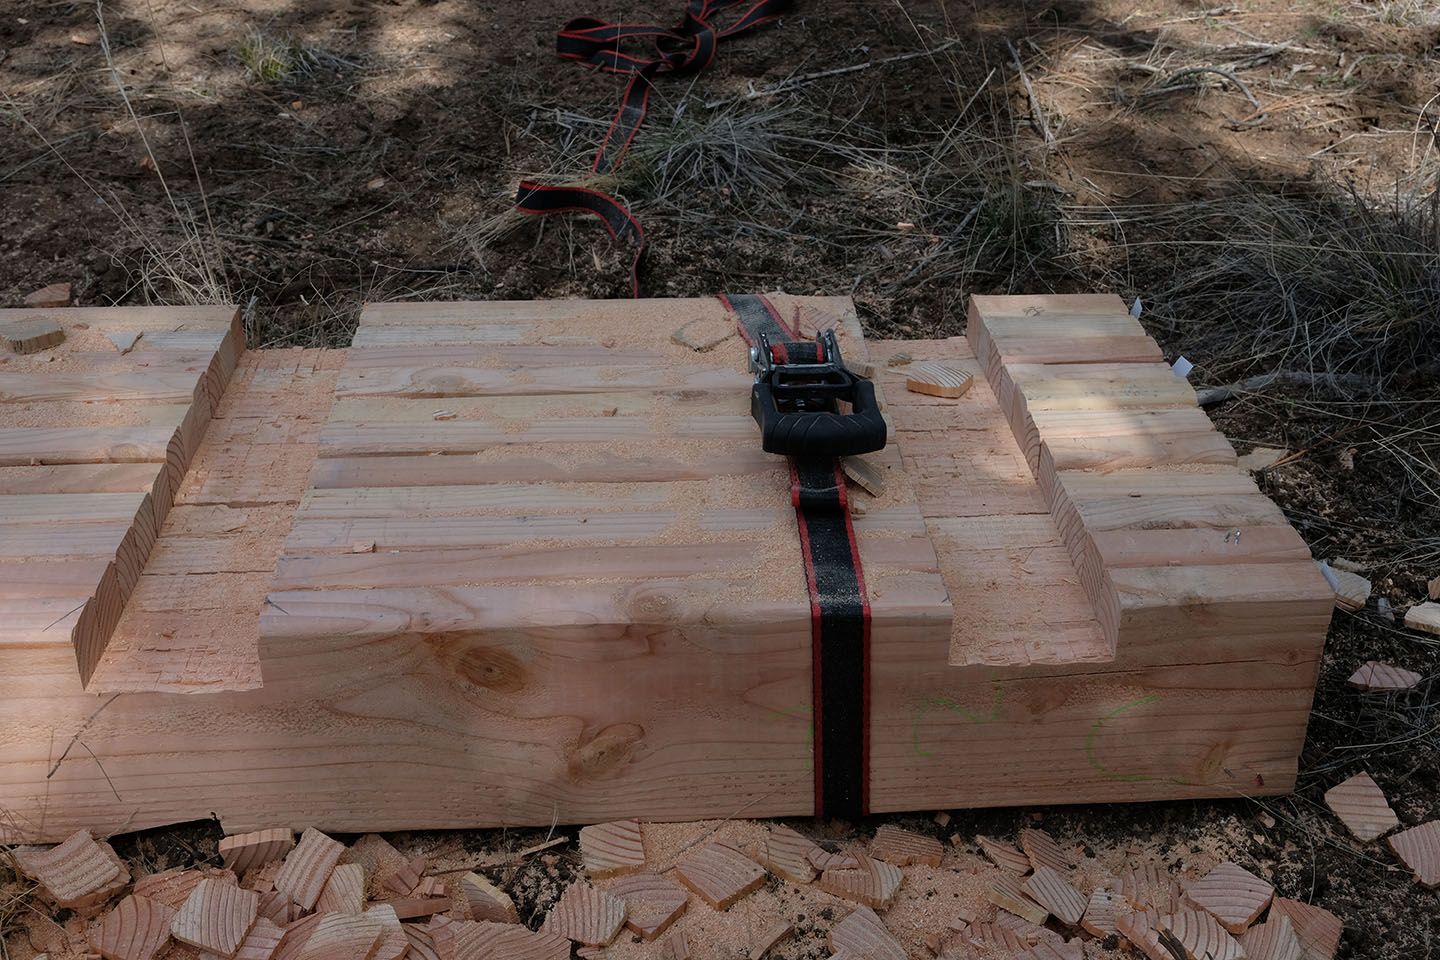
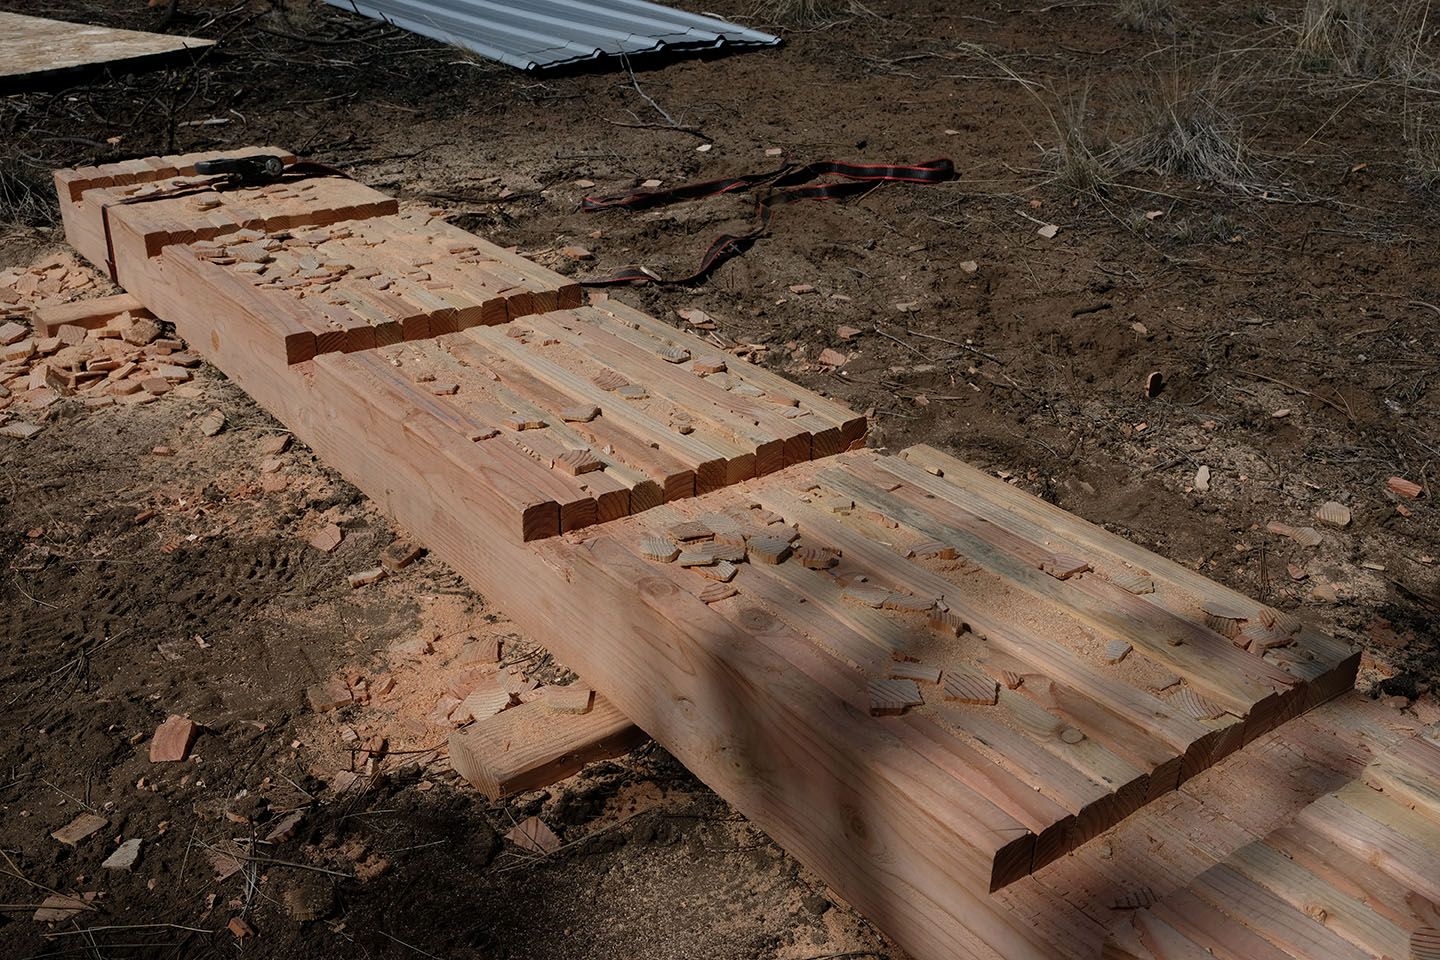
The approach I took to gang-cutting the rafters wasn’t ideal. Since the lumber was imperfect there was about 1/4” of variation from rafter to rafter. This meant the roof would have some waviness. In my opinion this method wouldn’t be suitable for a house or other large structure but acceptable for a shed.
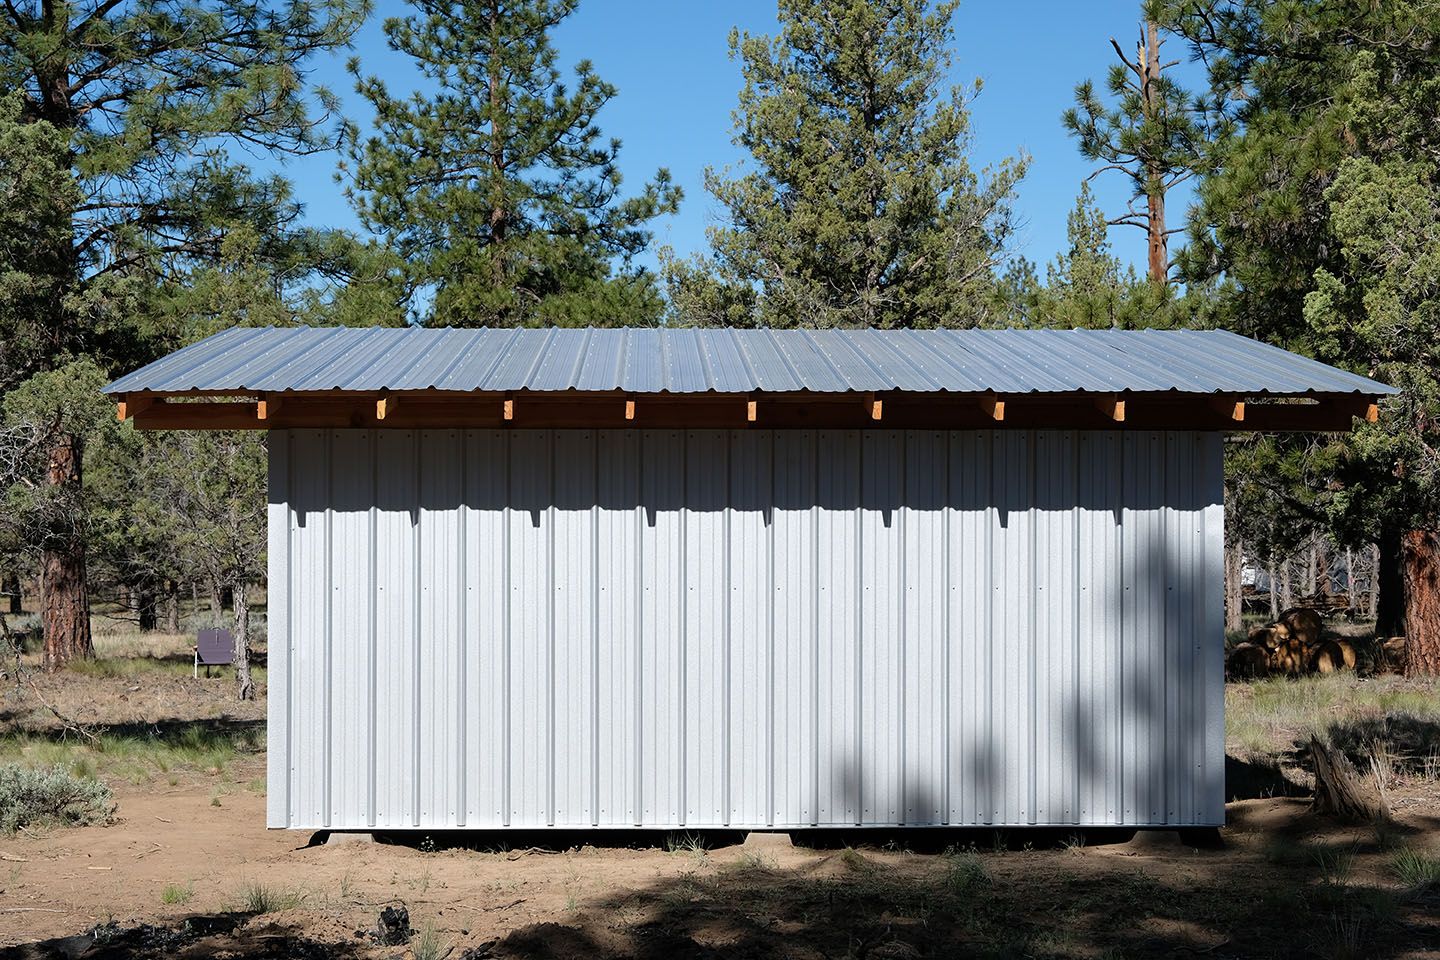
Exterior finishes
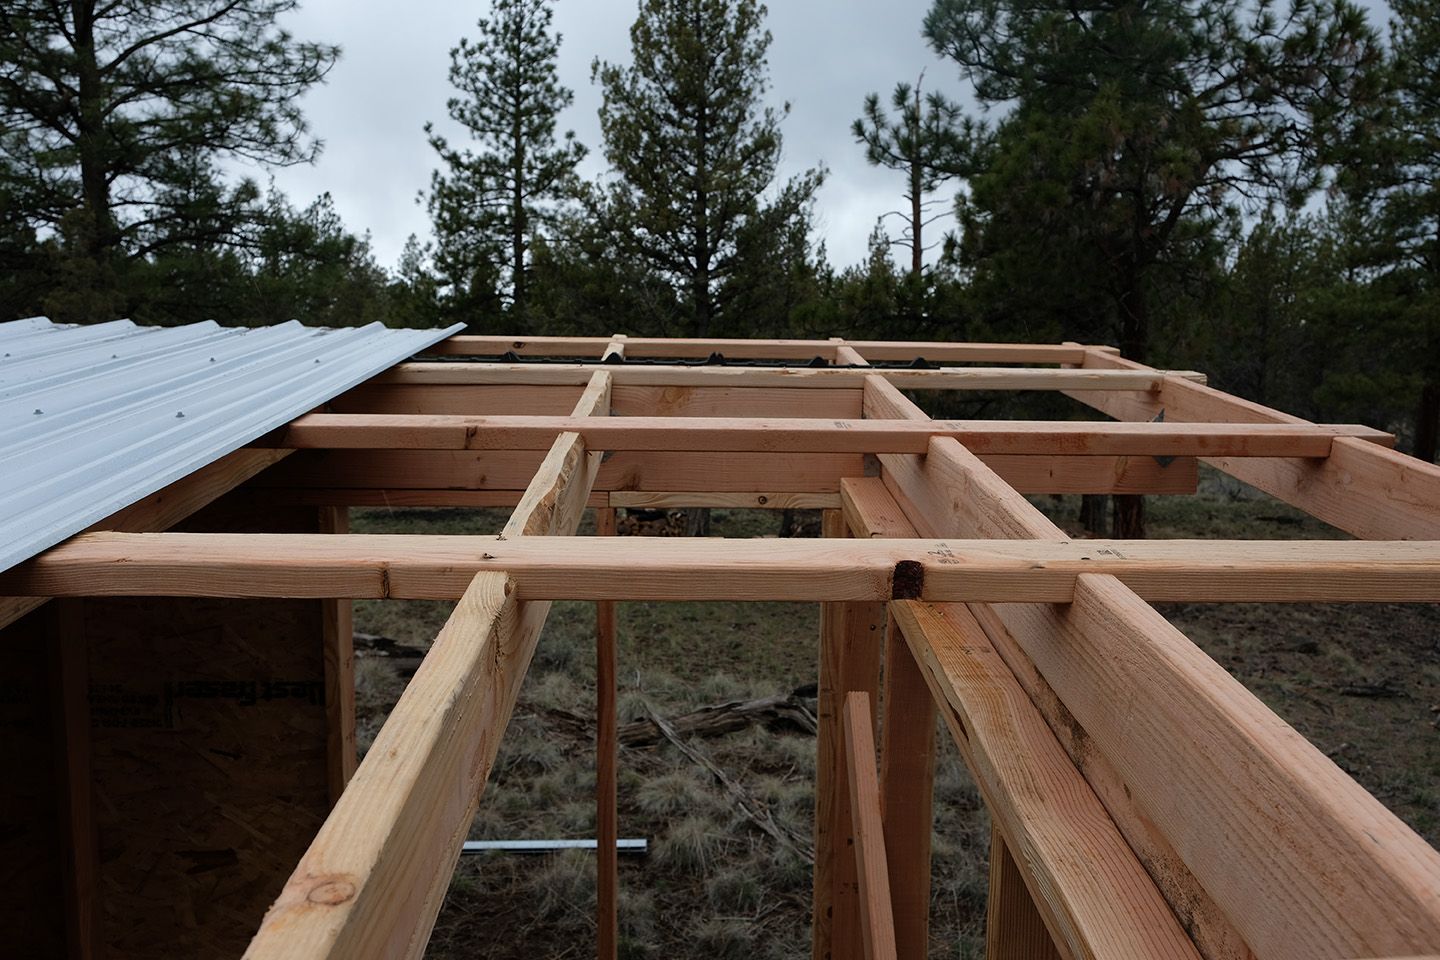
I designed the shed to use 12’ roof metal panels that could be placed without any cutting. They were straightforward to install once I got them into place: I screwed them down into the seven purlins along each rib.
I eyeballed the position of the screws, though in retrospect I should have pre-punched holes in the panels for the screws to ensure that they lined up perfectly. I didn’t do it this way because I was nervous about pre-punching holes through all of the metal panels and finding something didn't line up. I should have trusted the layout and done it.
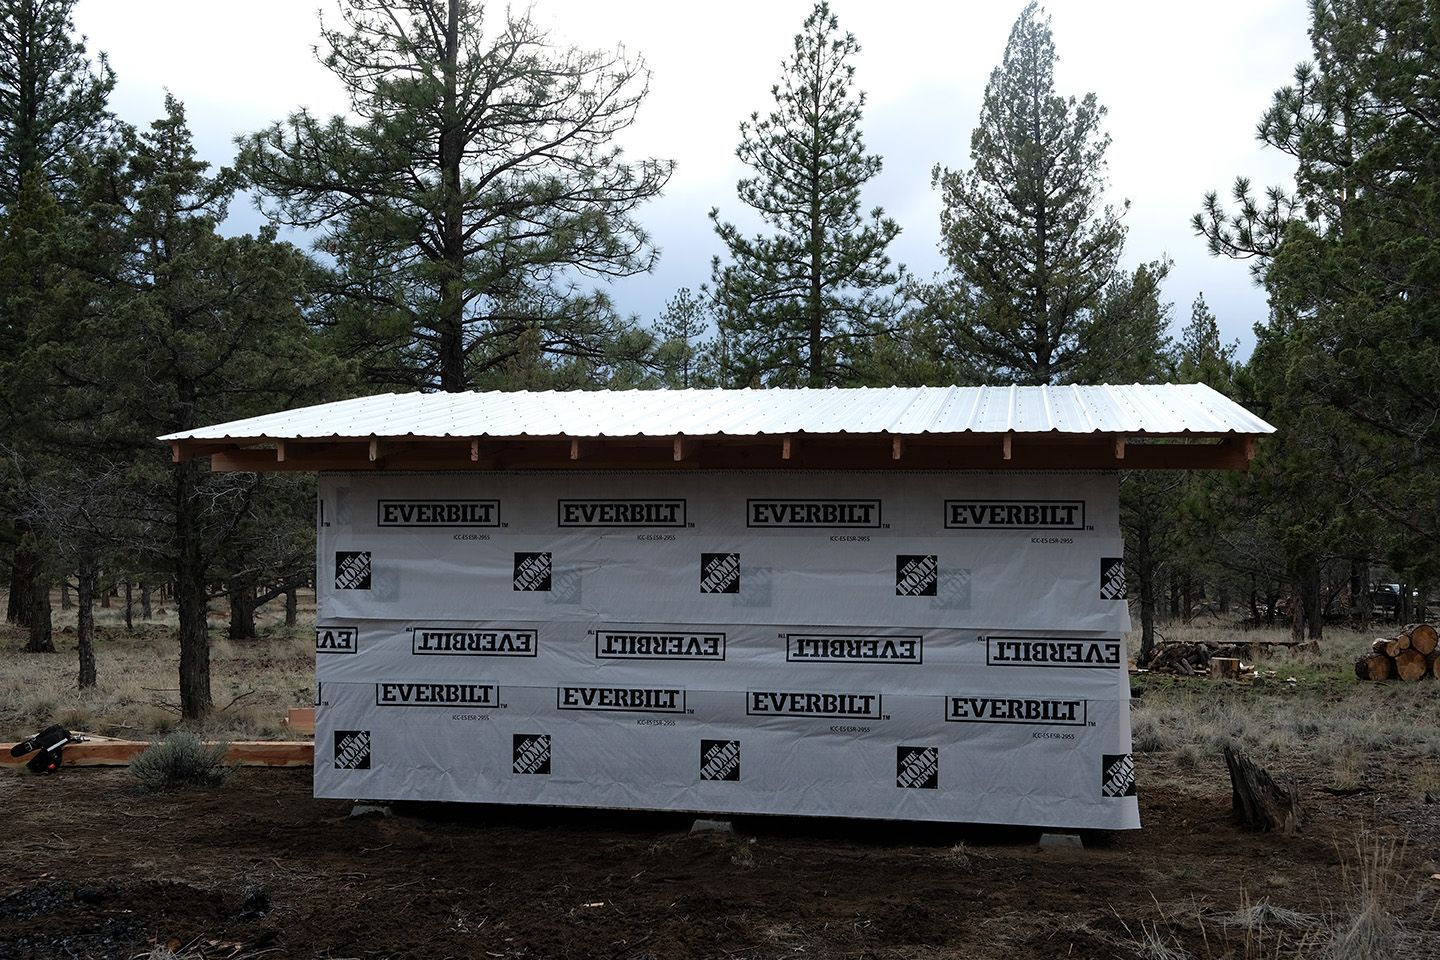
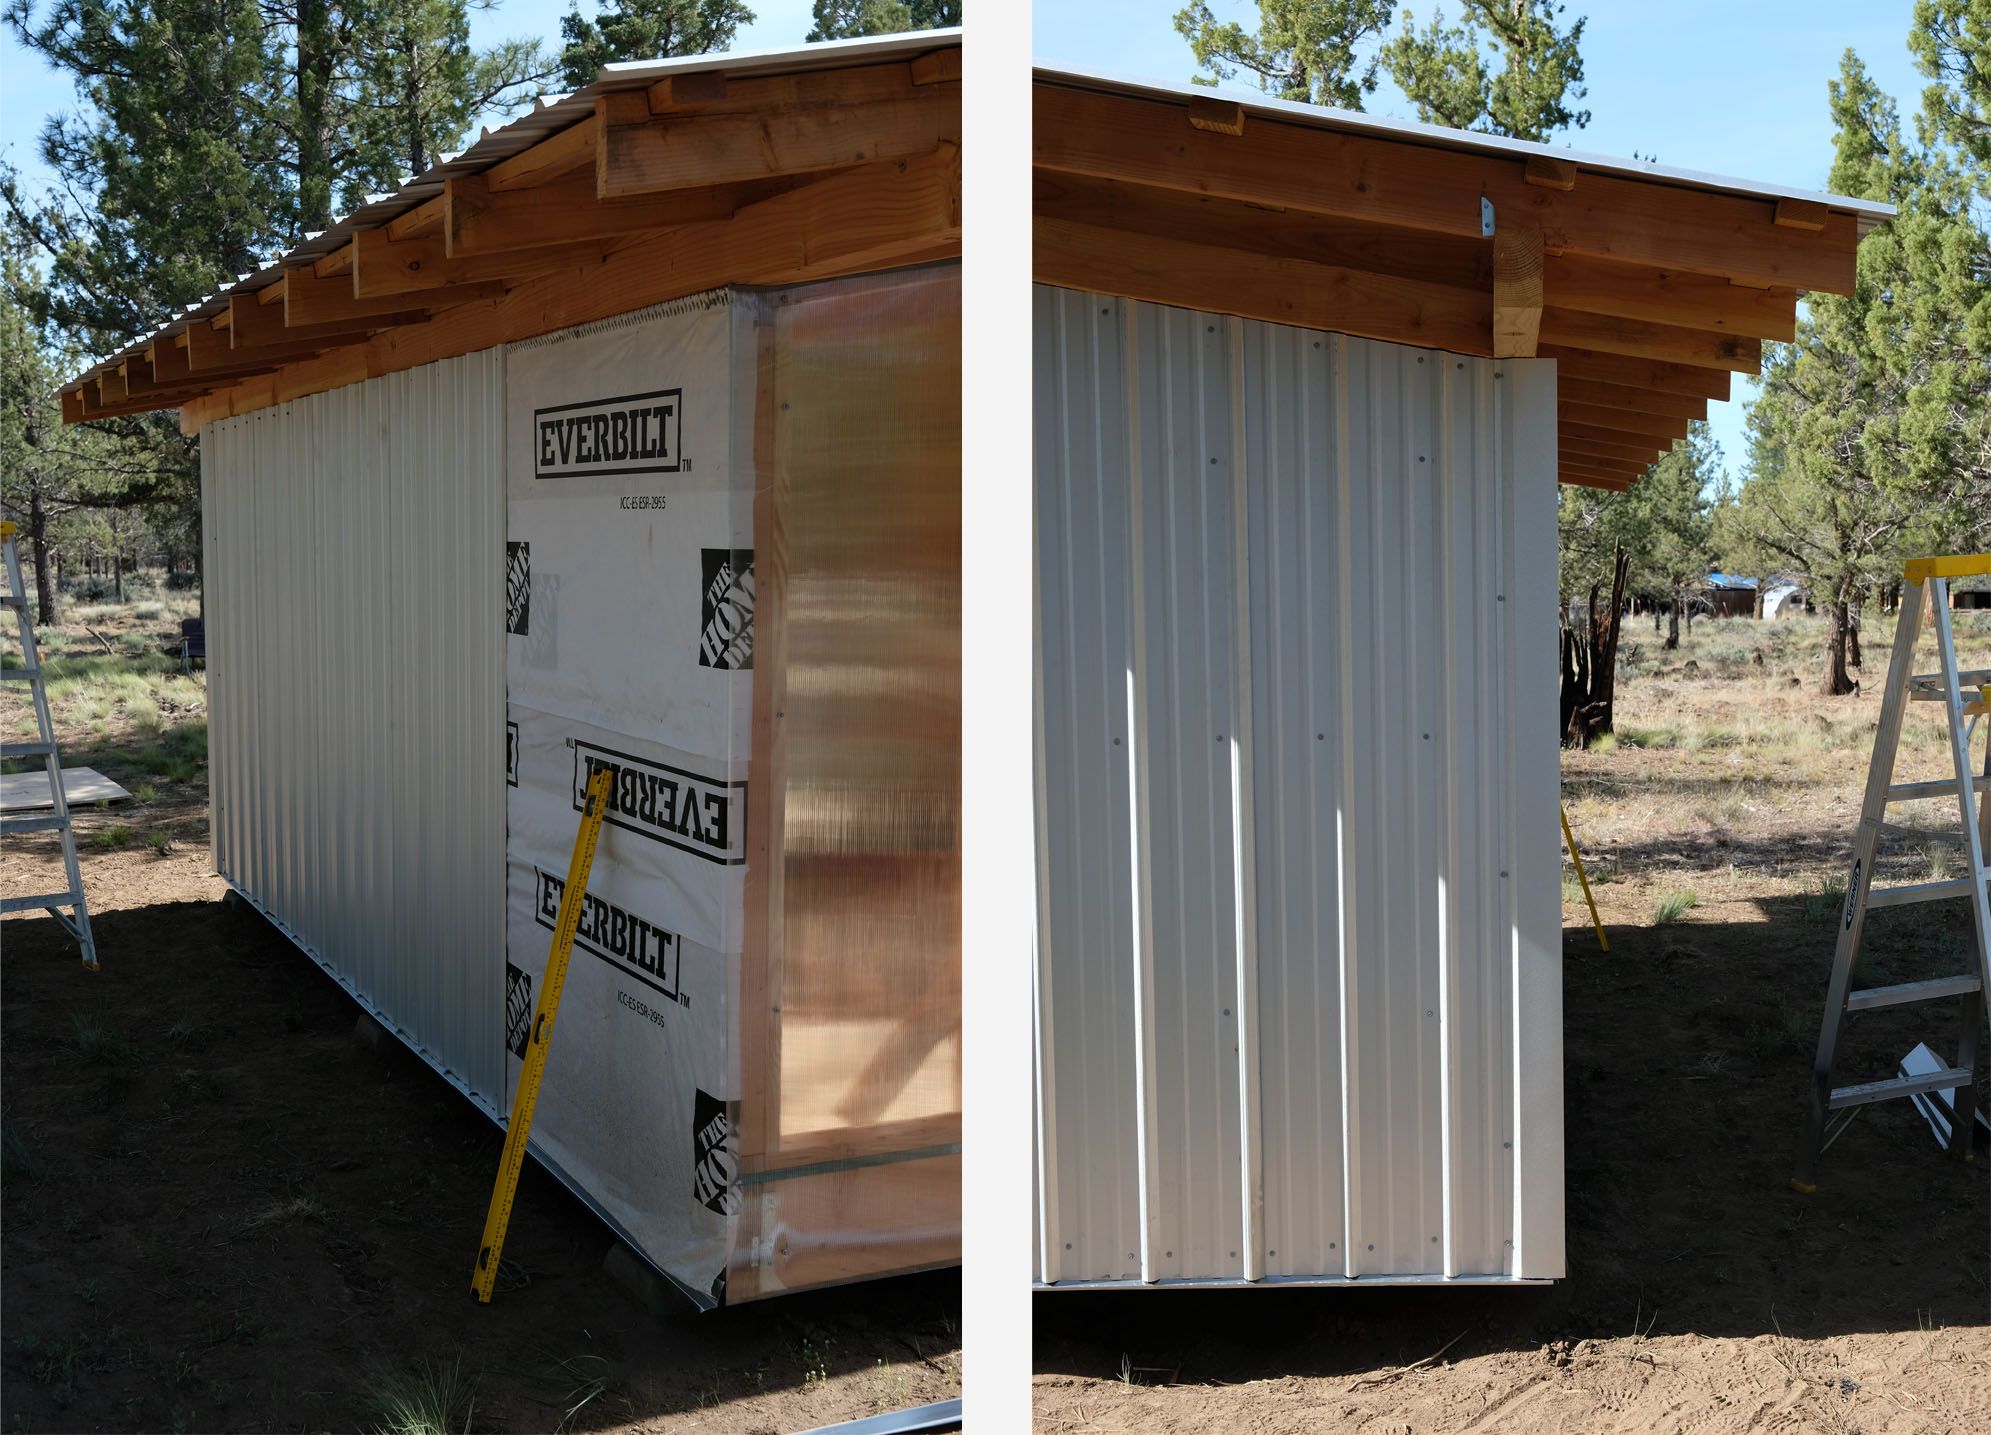
I wrapped the sheathing with housewrap, which wasn’t necessary but seemed like a good precaution since it might sit a while before I could finish the metal siding.
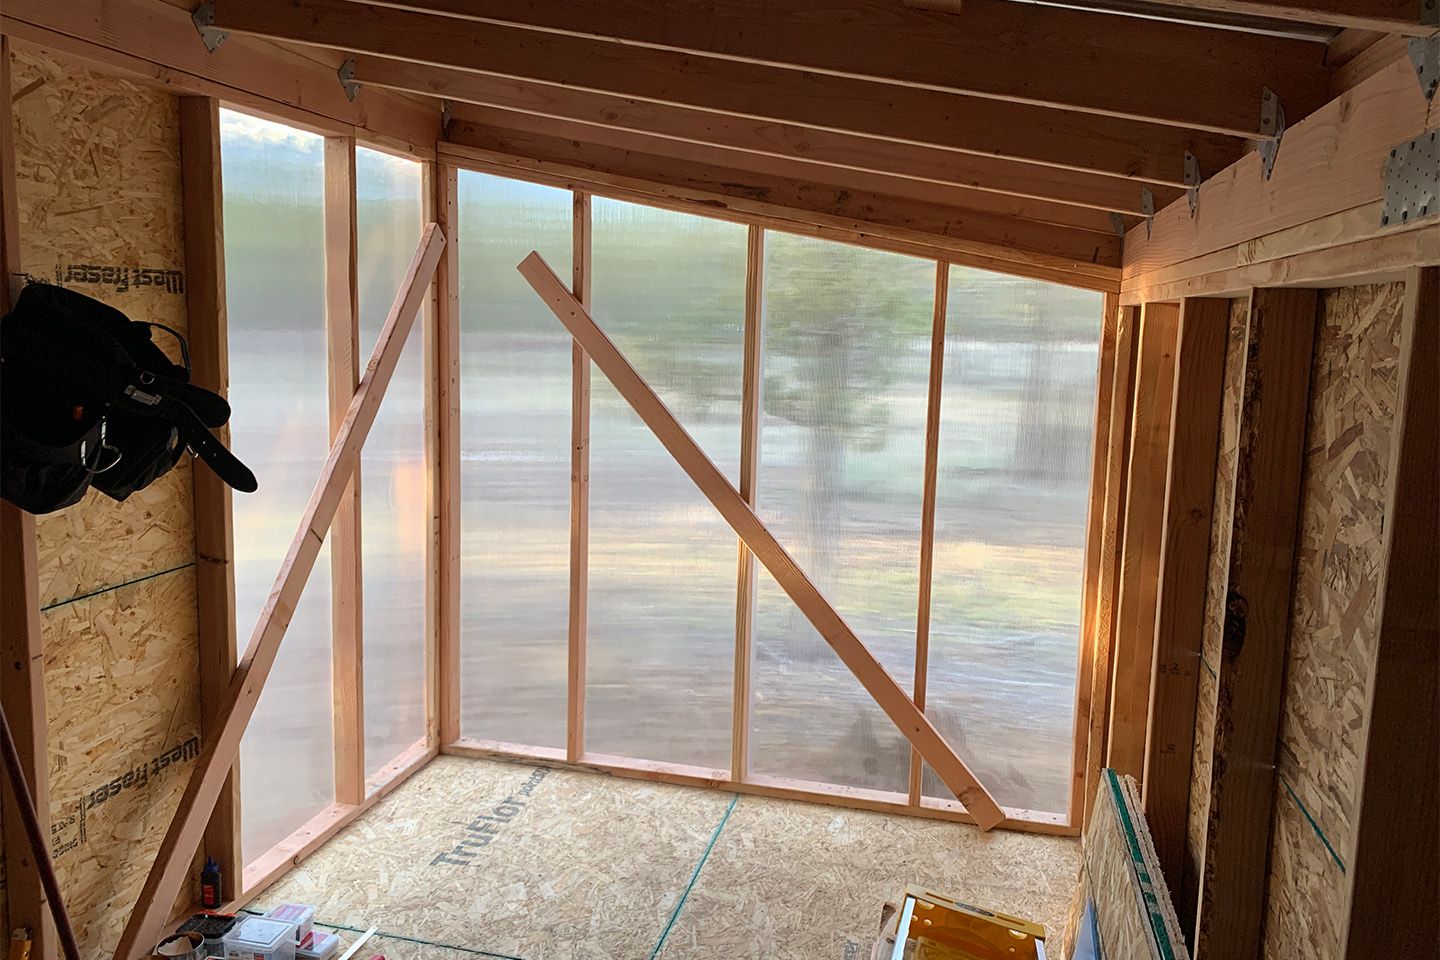
The end wall and a portion of the front was sided with corrugated translucent polycarbonate sheets used in greenhouses.

Because the polycarbonate sheets aren’t structural I used temporary braces to provide shear strength. Diagonal cable bracing would be a better long-term solution.
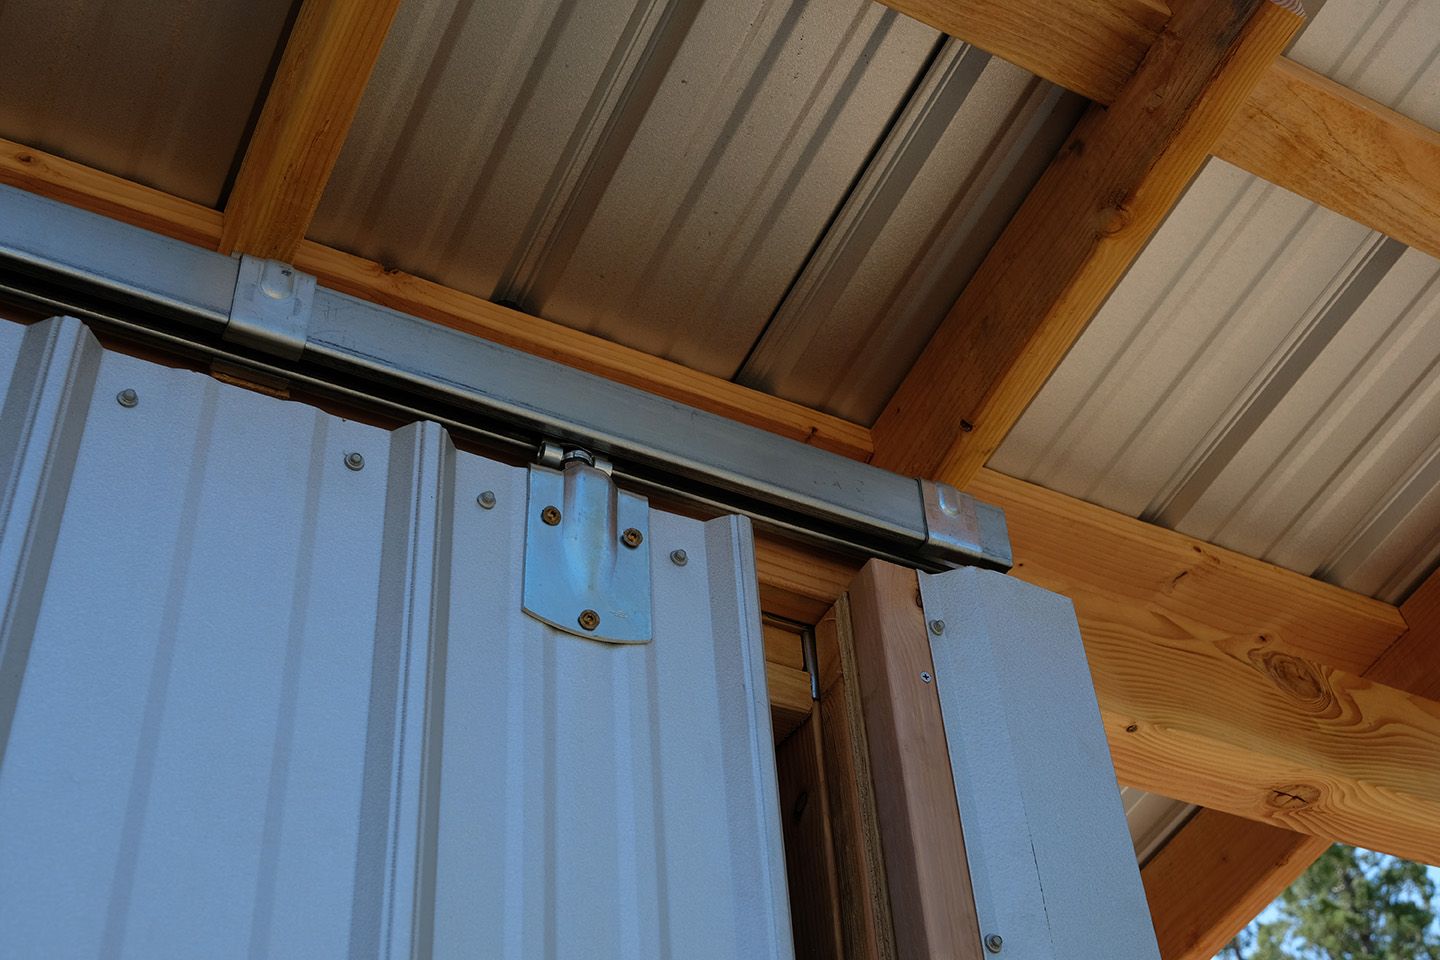
Mounting the sliding barn door was sketchy. Once the overhead rail was set, I needed to slide on the fully-built door which weighed around 150 pounds. It was like a giant sail, and any little breeze threatened to blow it over. Doing this solo on a windy day was dangerous. I would not do it again.
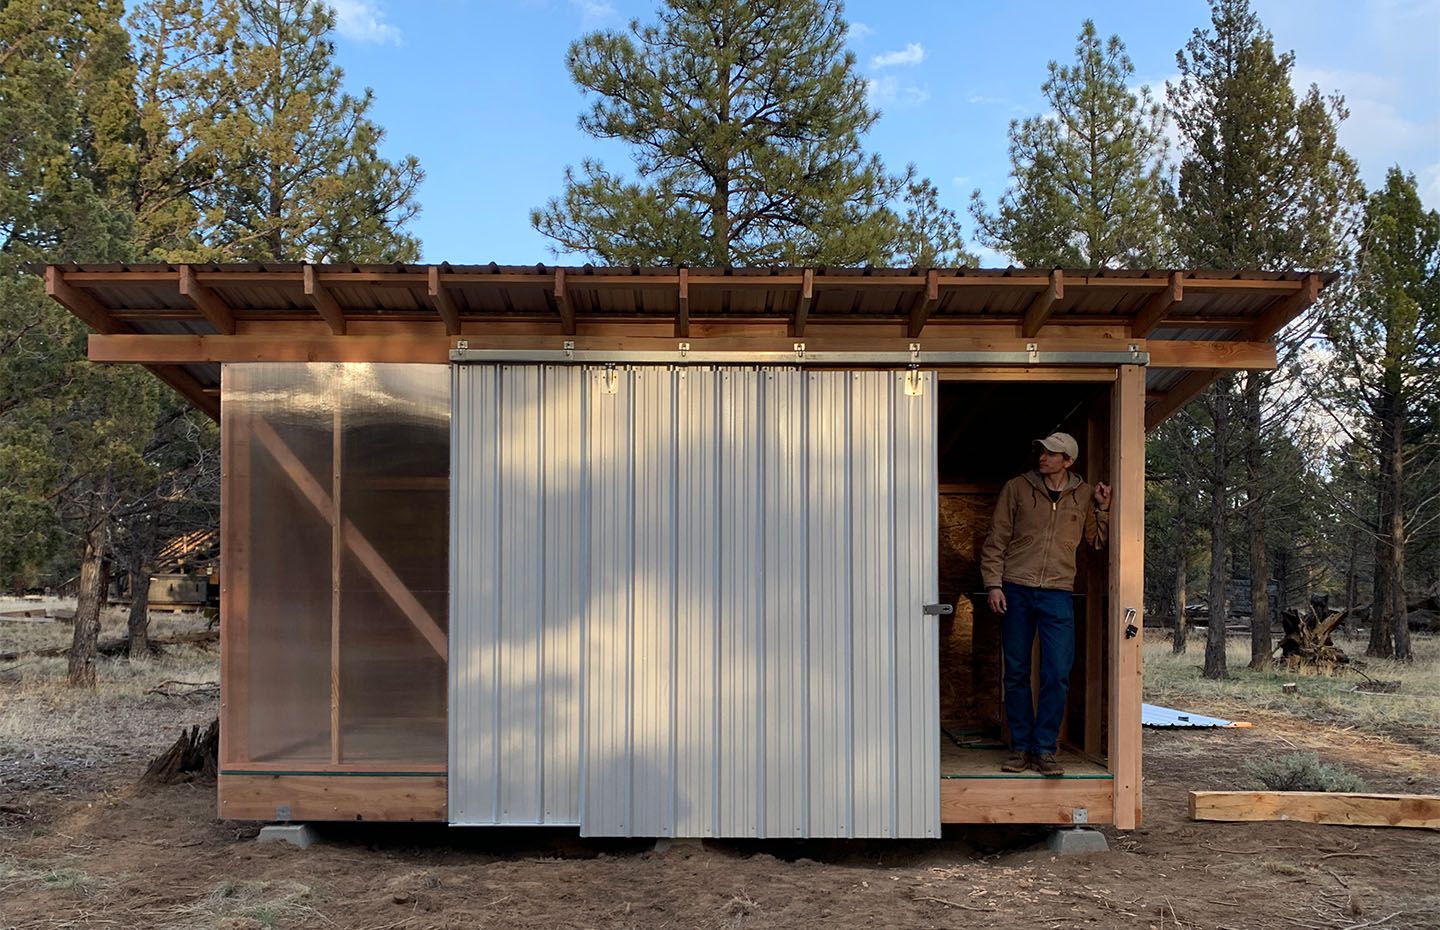
I finished up the metal siding. These panels required cutting. I used a circular saw with a backwards-mounted blade, a trick for cutting roof metal I read online. Technically you’re not supposed to cut the metal with a saw blade since it has a coating on it which is melted from the heat of the blade, allowing rust to form along the cut. The correct tool for the job is called a nibbler, which I will have to acquire when I build the house.
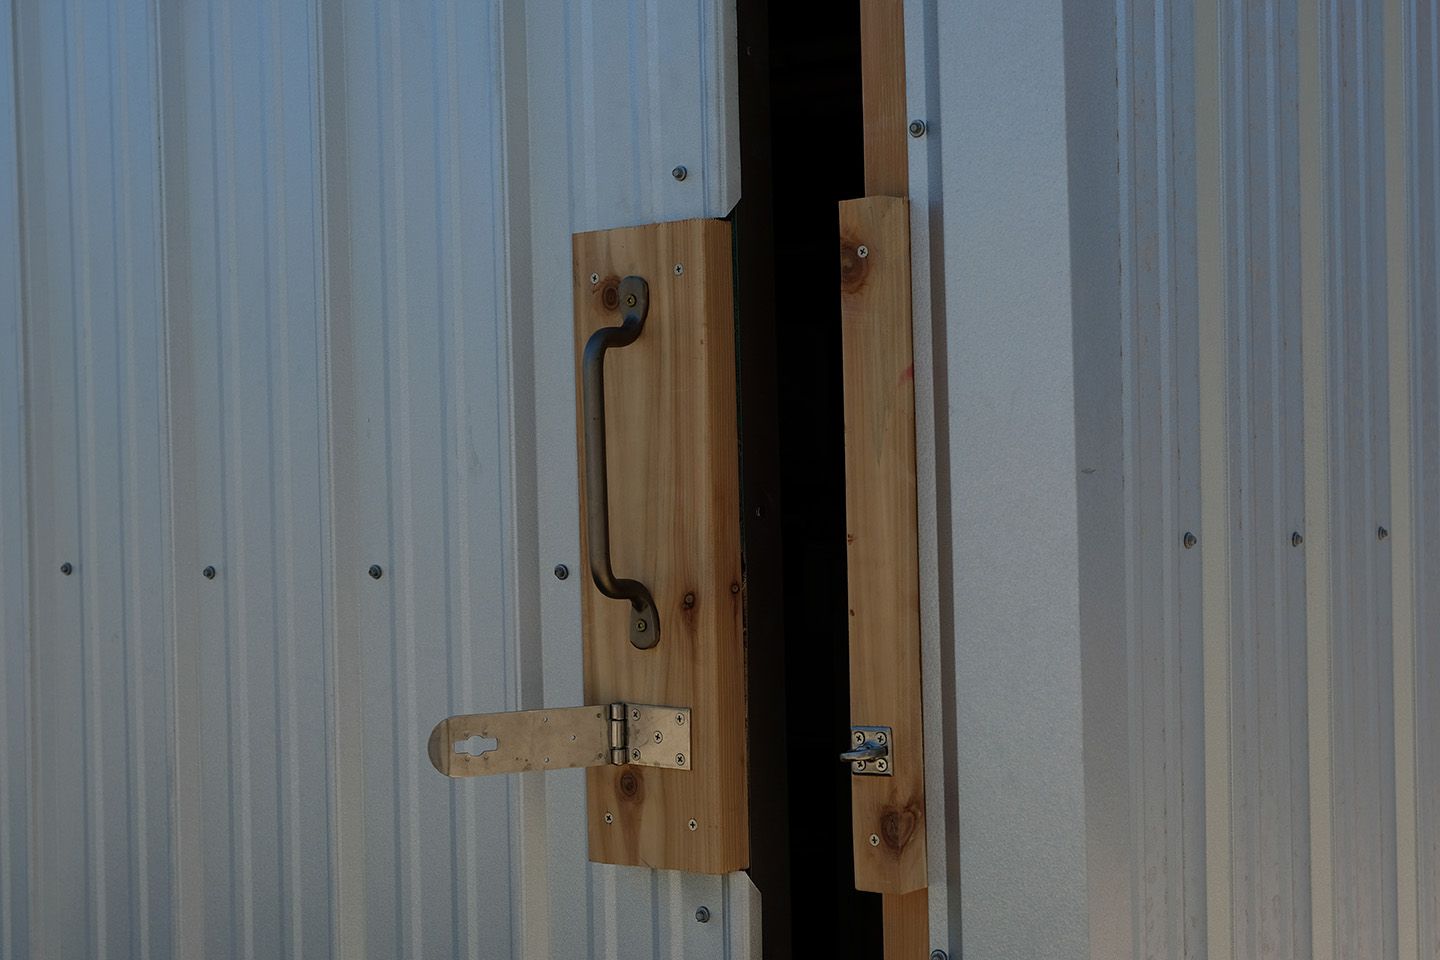
The door required thought to get right. I planned for a 2” wood reveal along the length of the door after the corner trim terminated. I used a piece of cedar for this exposed portion.
I mounted the handle and latch on another piece of cedar, creating a surface that sits flush with the door jamb when closed. I’m glad I preplanned all of the details around the door because there was a lot to line up to produce a clean result.
The interior
I finished out the interior with shelves and a workbench constructed from 2x4s and 5/8” plywood.
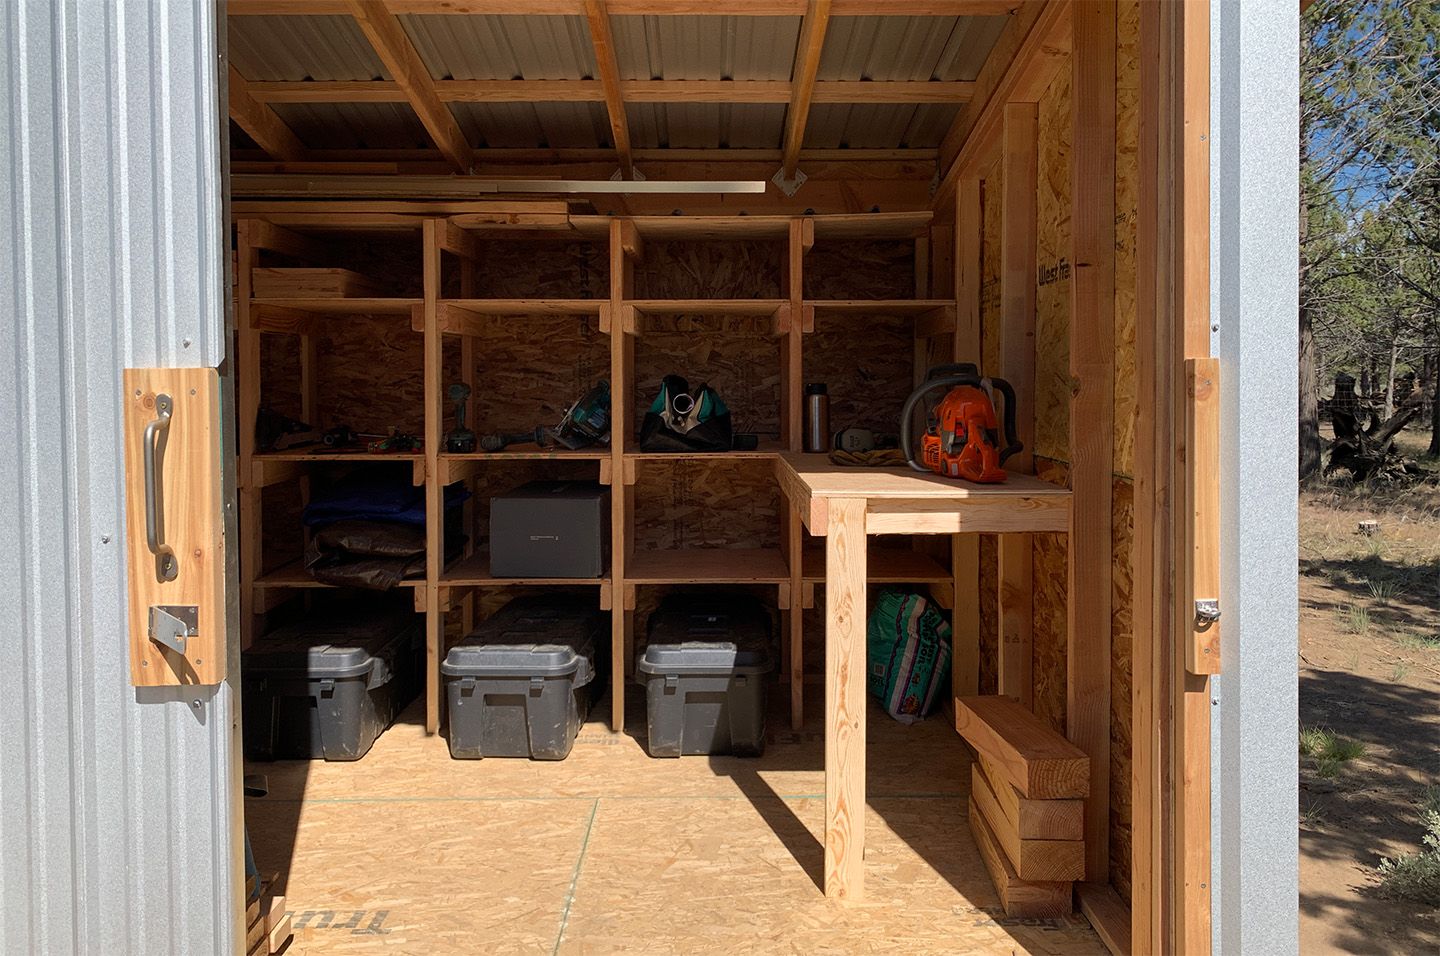
I purposely left the interior rough. Over time I’ll make adjustments to it as new storage needs arise.
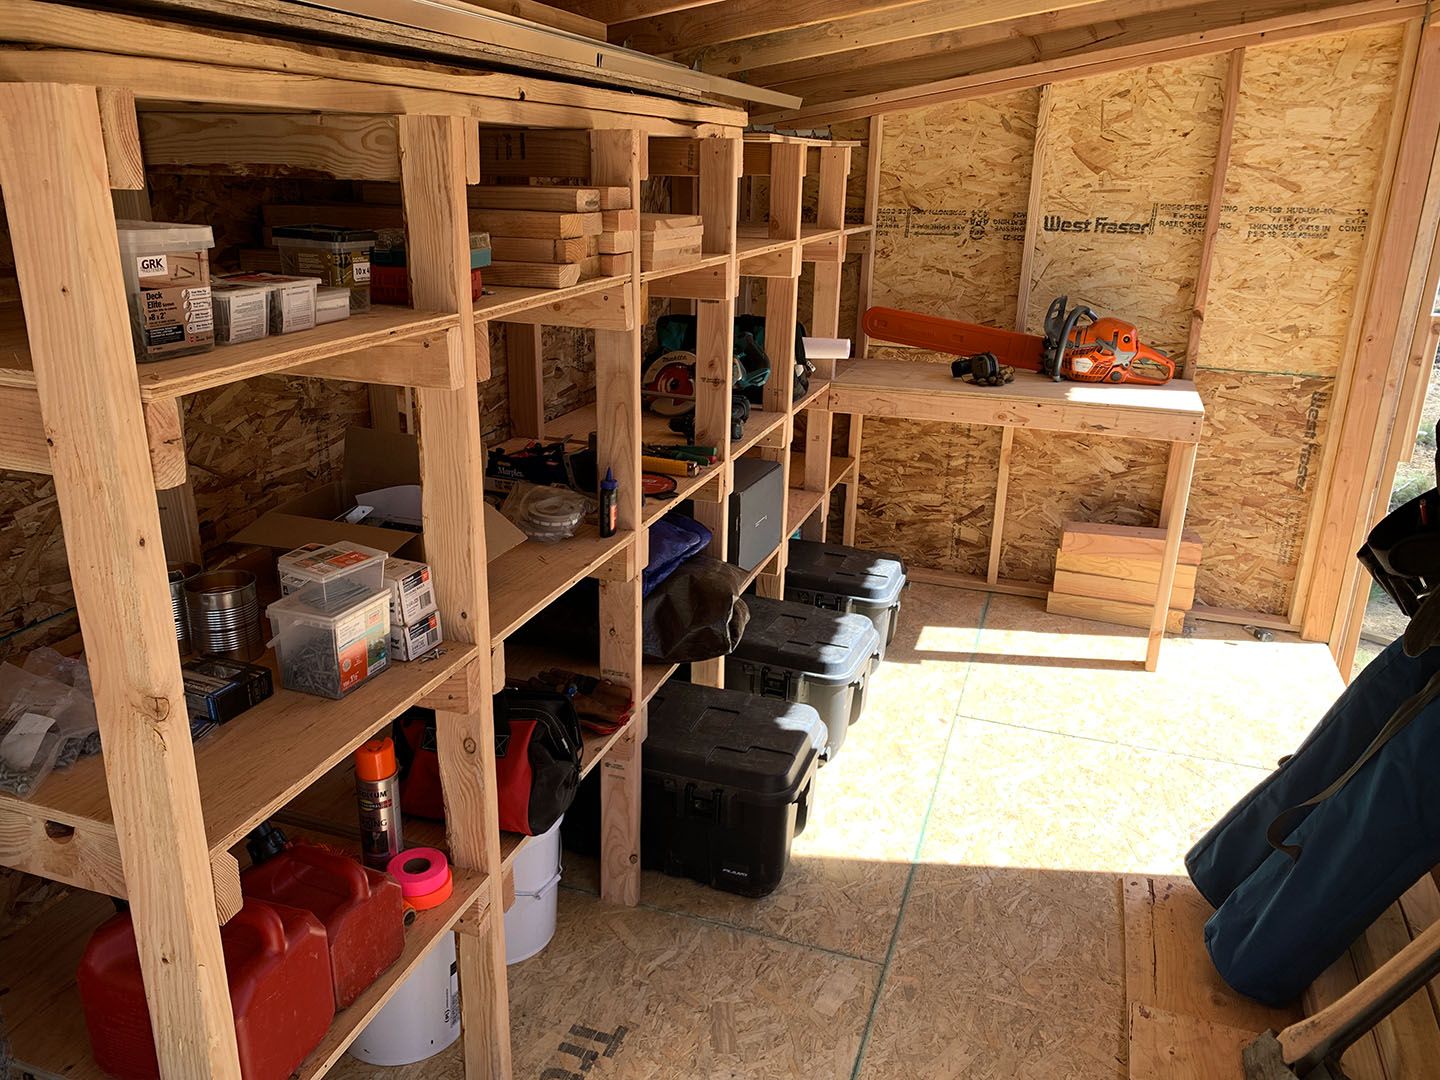
It feels good to have a place to store tools away and for them to have a more permanent home.
Takeaways and costs
I’m happy with the result. The goal was to learn a lot and I did. Having built this I feel confident that I can build a house. It will be more difficult and take far longer, but because the shed is essentially a small house the underlying principles and techniques are the same.

The main takeaway is to go slow. The parts of this project I would have changed are all areas where I thought to myself “I really should do it that way…” but did not because it was quicker or easier to do it the less-correct way.
Here are the costs associated with this project. This is for materials; I removed the cost of the power tools I purchased since they'll be used for the house. I built the shed with an impact driver, drill, circular saw, and nail gun.
| Item | Total cost |
|---|---|
| Concrete piers | 62.52 |
| Lumber | 1,654.10 |
| Fasteners and lumber connection hardware | 508.54 |
| Door hardware | 305.12 |
| Polycarbonate siding | 342.28 |
| Housewrap | 54.79 |
| Metal roofing, siding, and fasteners | 1,011.90 |
| Flashing | 77.62 |
| Total | 4,016.87 |
For the 128 sq ft structure, that comes out to $31.38/sq ft.
Next
Outside building the shed, I’ve been working on putting together a site plan to prepare for installing utilities on the property. We intend to make progress on those this summer; in particular cutting in a driveway, installing the septic, and drilling a well.
⁂